Today is about backpacking. Although, I did paint en plein air during this trip, so there was some art as well. I have lots of photos too for future painting reference! There will be future paintings from this trip, promise! There are a bunch of affiliate links in this post in case you want to know what gear and food I used and I am always appreciative if you shop through these links.
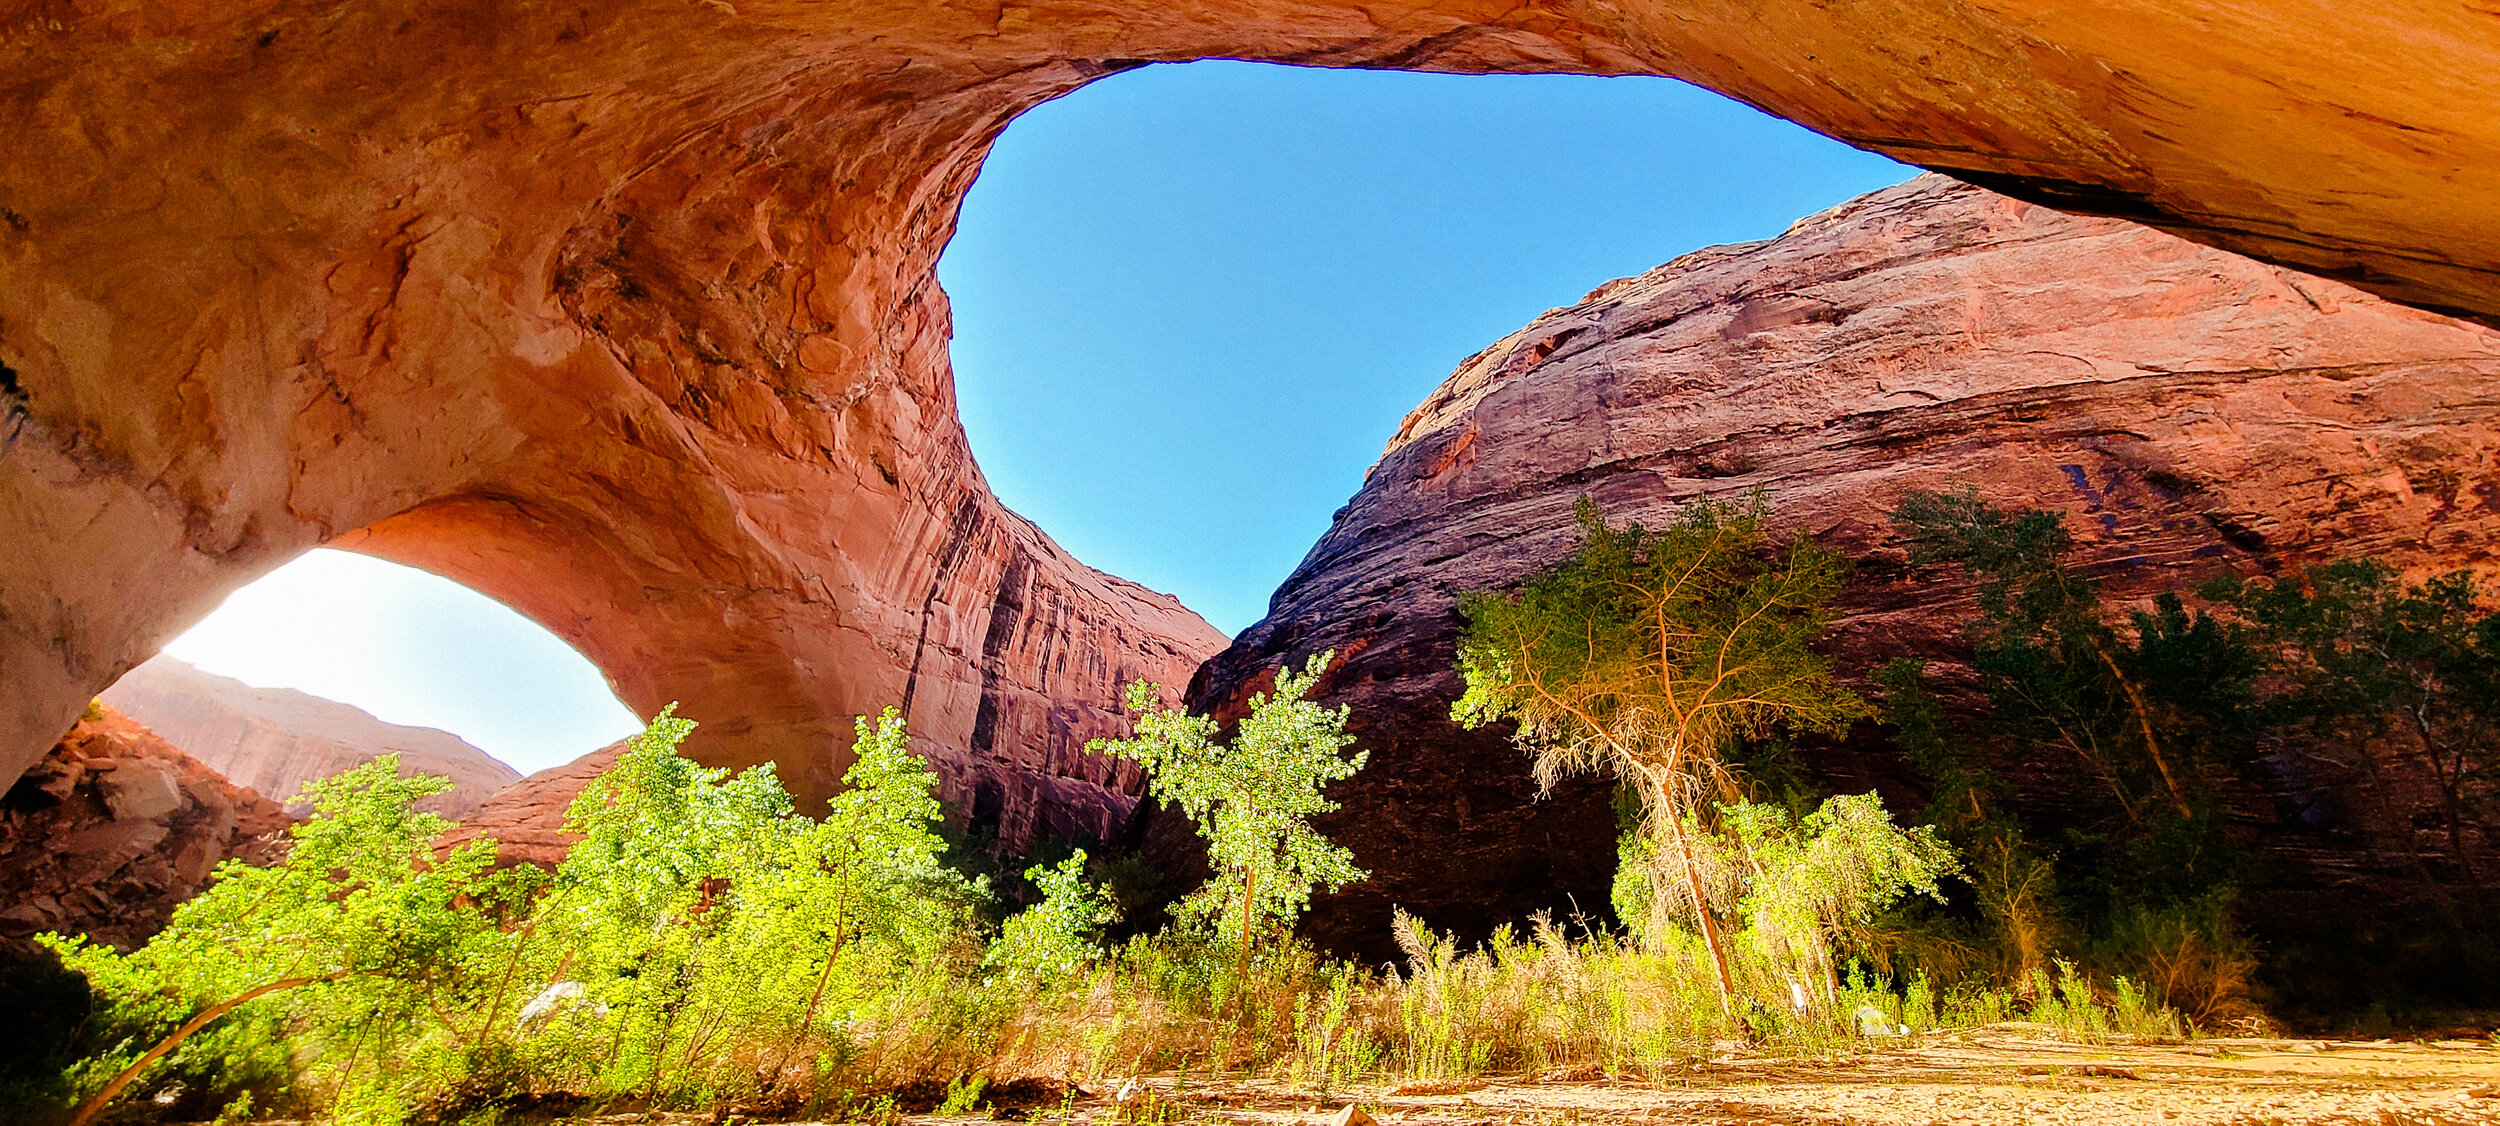
Image by Michelle Craig
I don't have lots of experience backpacking. I did a couple of short trips when I was 18 and then nothing until I took my oldest son backpacking last August for the first time. If you'd asked me 10 years ago if I wanted to give backpacking a go again, I'm sure I would have said I'm too old. My 11yo asked me about backpacking last year after he watched YouTube videos of folks who backpacked to secluded fishing spots and I figured we could give it a try and see if he liked it. We did a one-night trip in American Fork Canyon and he had a blast. I've done a lot of reading about backpacking, and I plan to take my son a few times this summer, so I don't really feel unprepared; I'm just still a newbie.
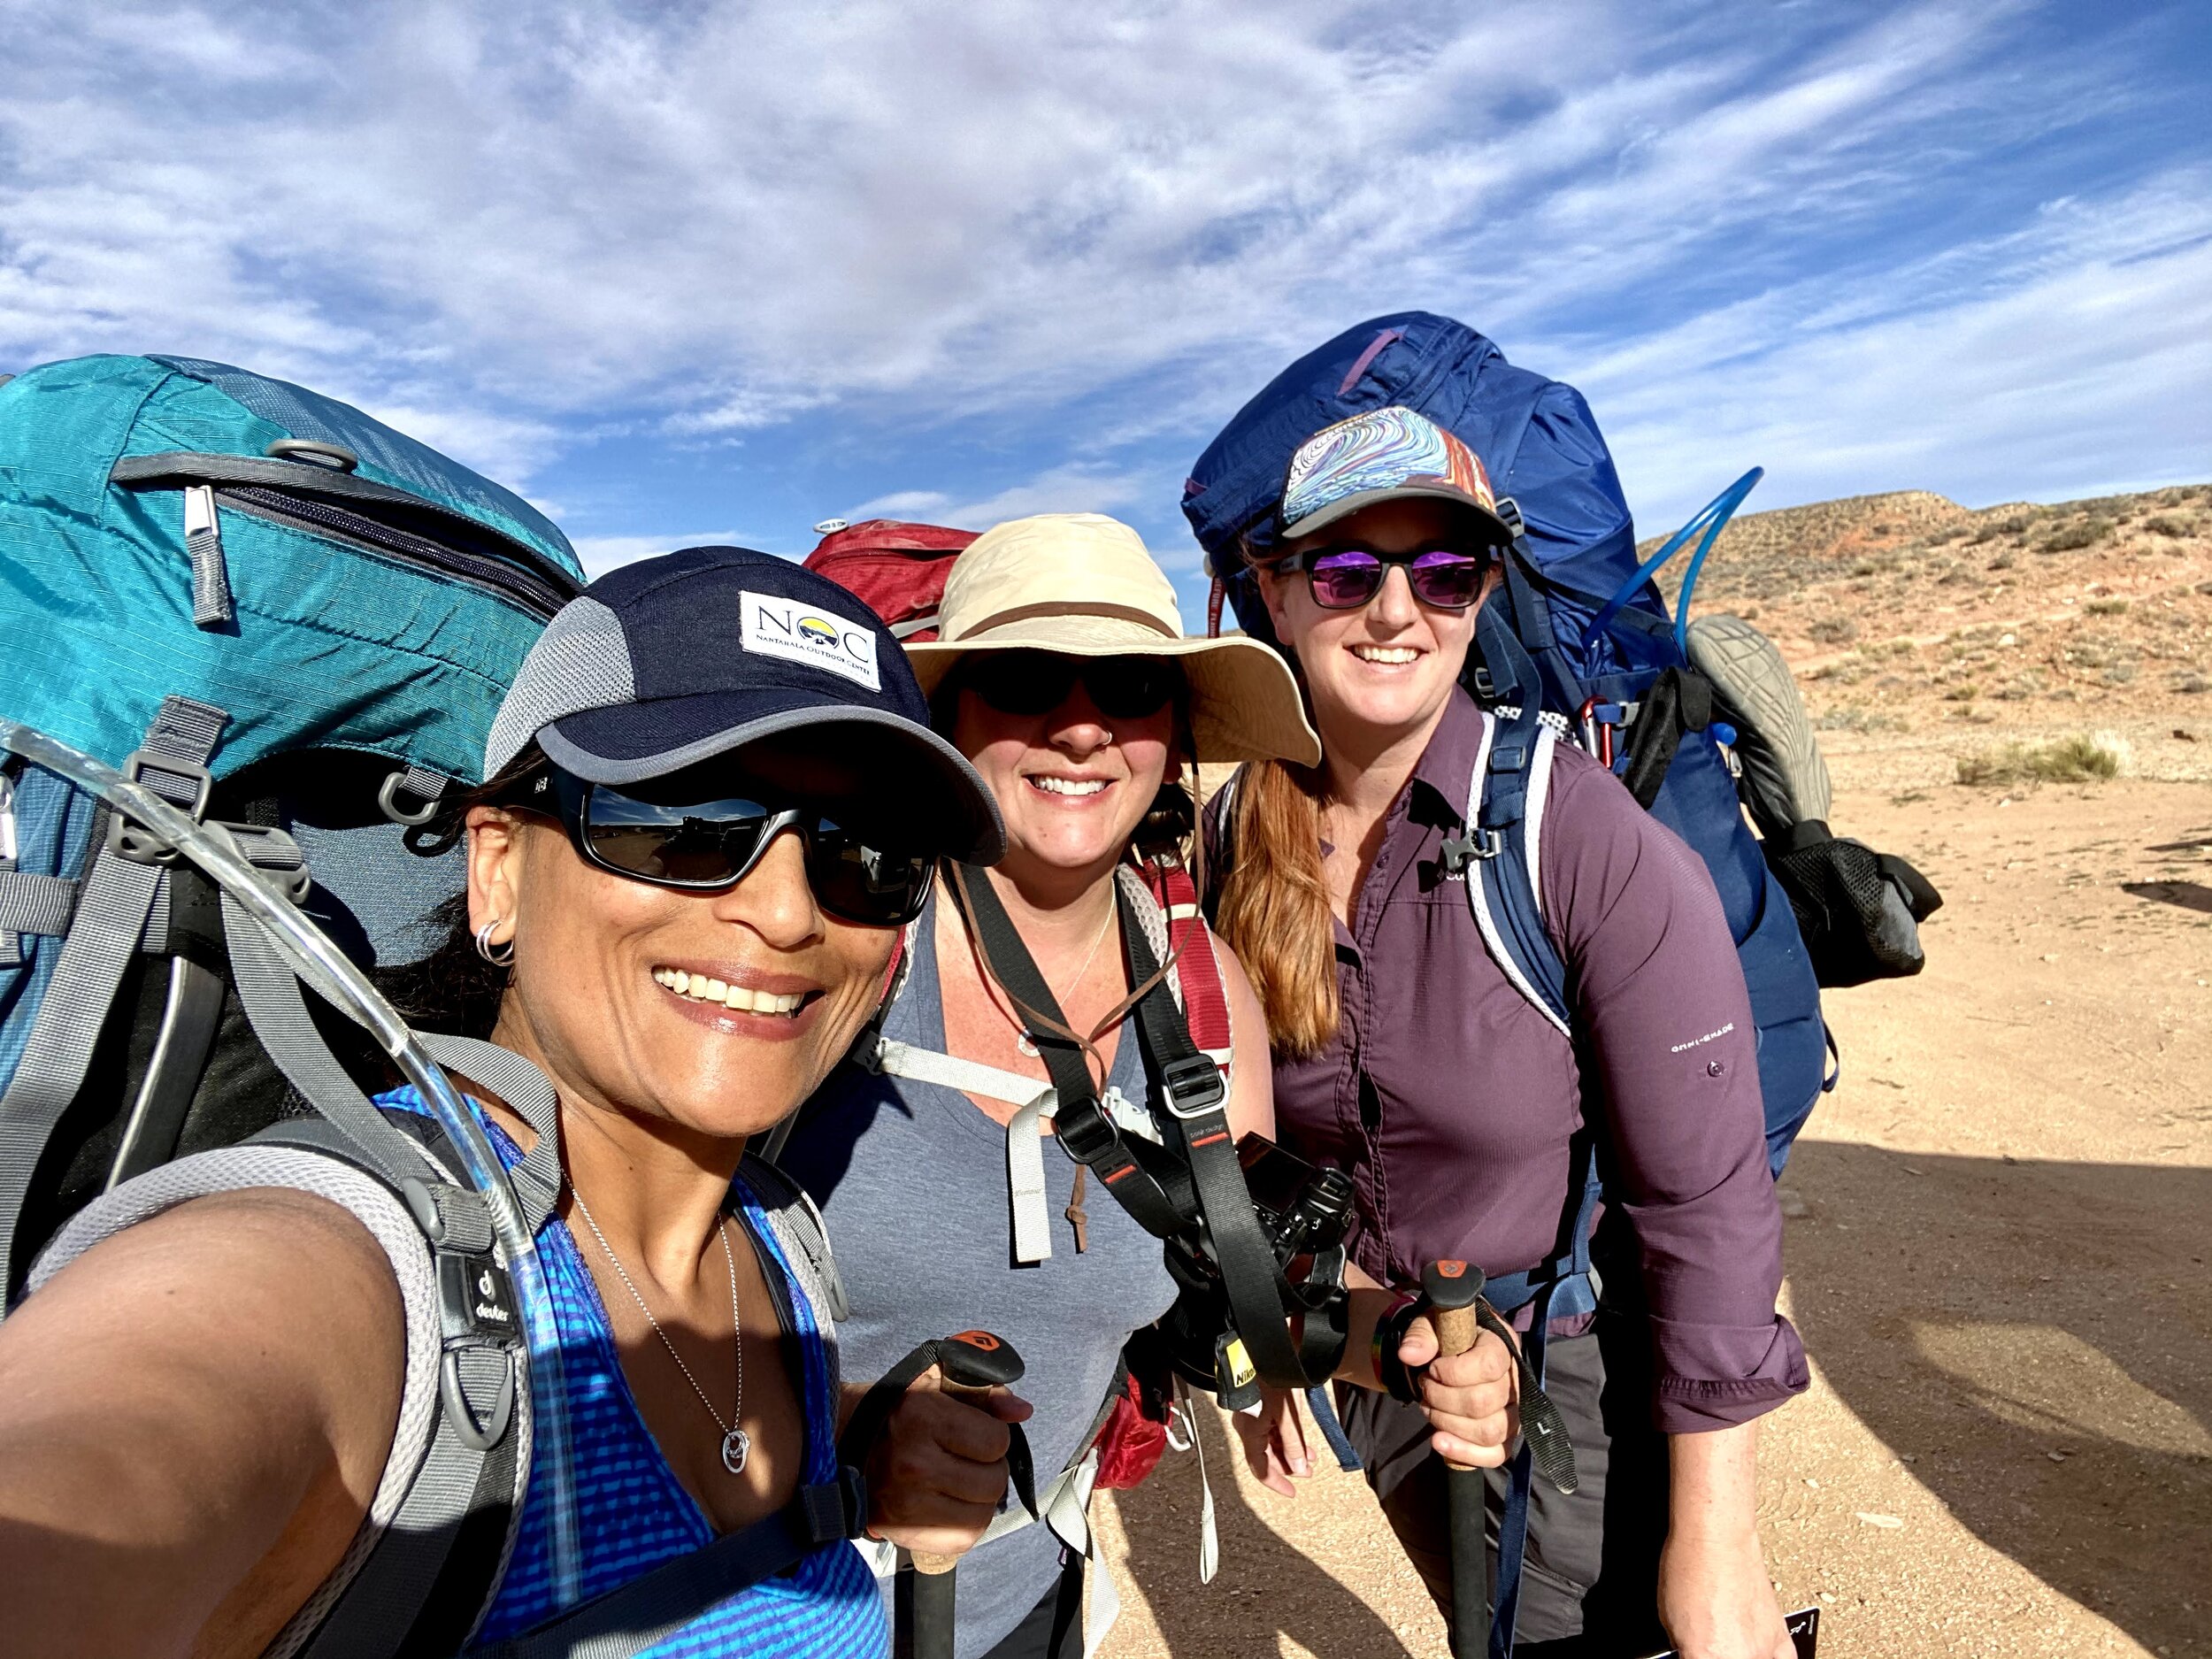
My friend, Michelle shared her desire to backpack in the Escalante region of Utah last month and asked if I wanted to join. I jumped at the chance. I already had 99% of the gear I would need, so I just needed to commit and go for it. Michelle’s friend, Sumitra decided to join at the last minute and flew to SLC from Indianapolis and we all drove down to Escalante together.

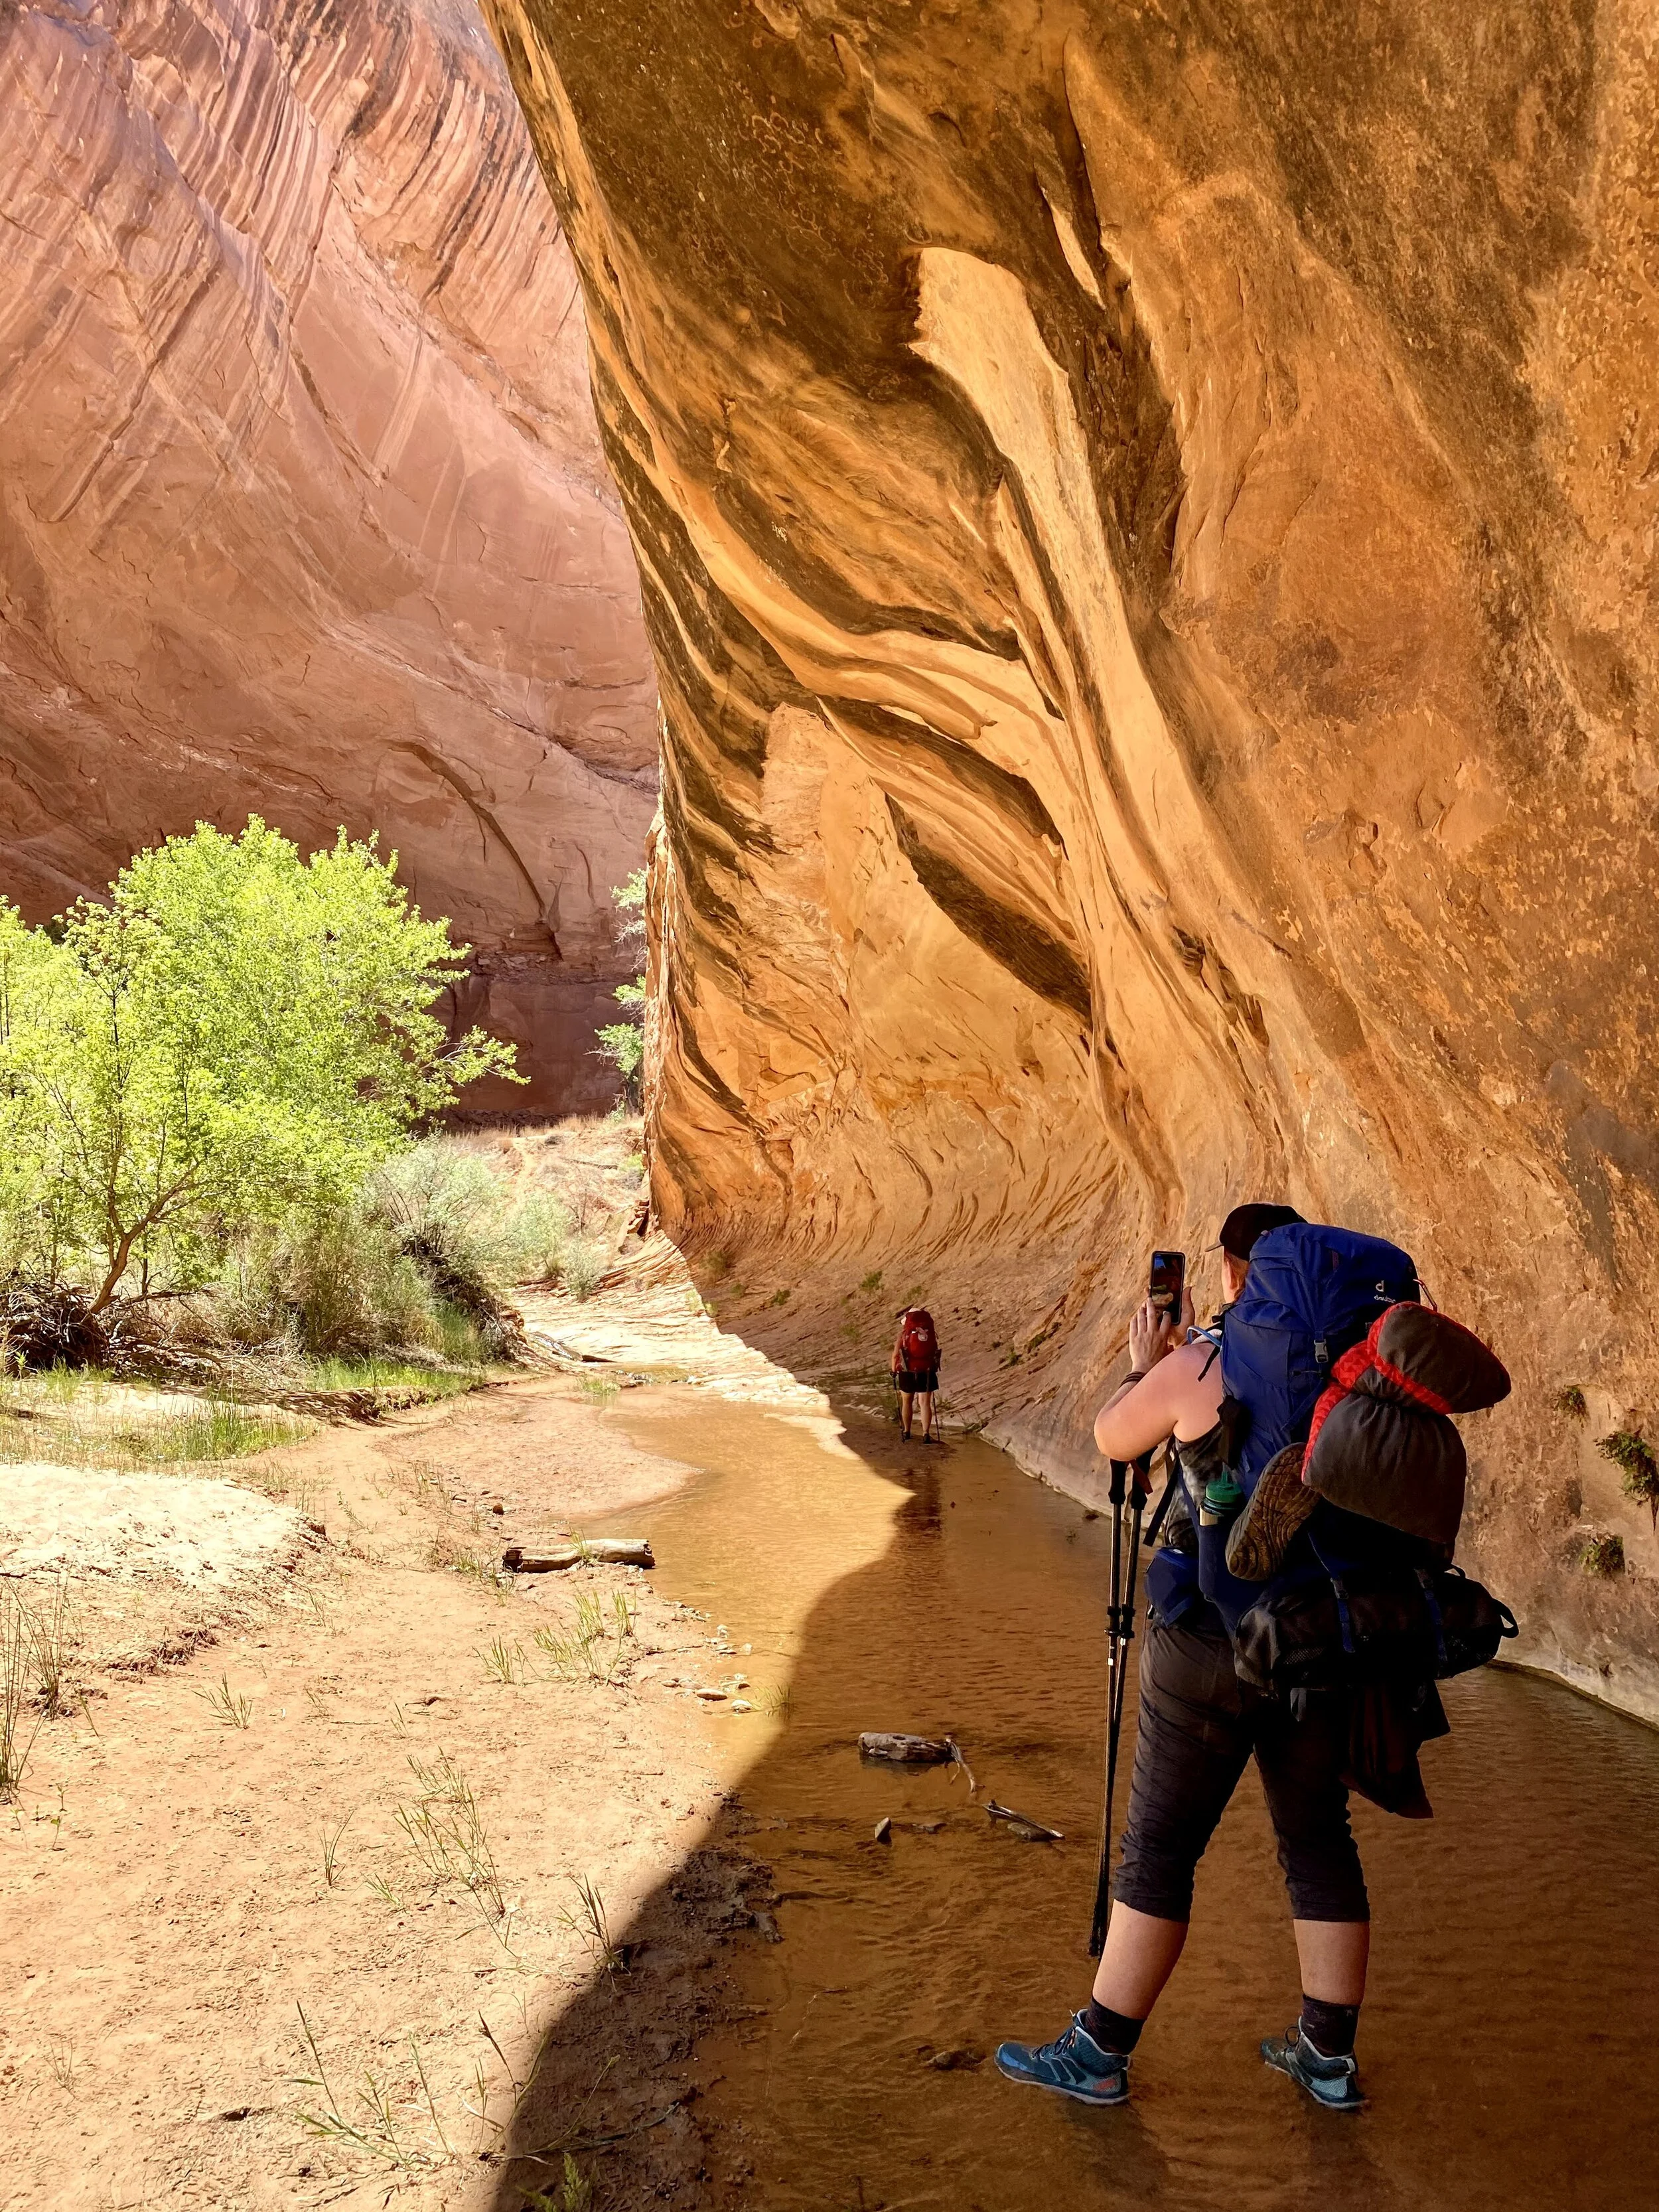
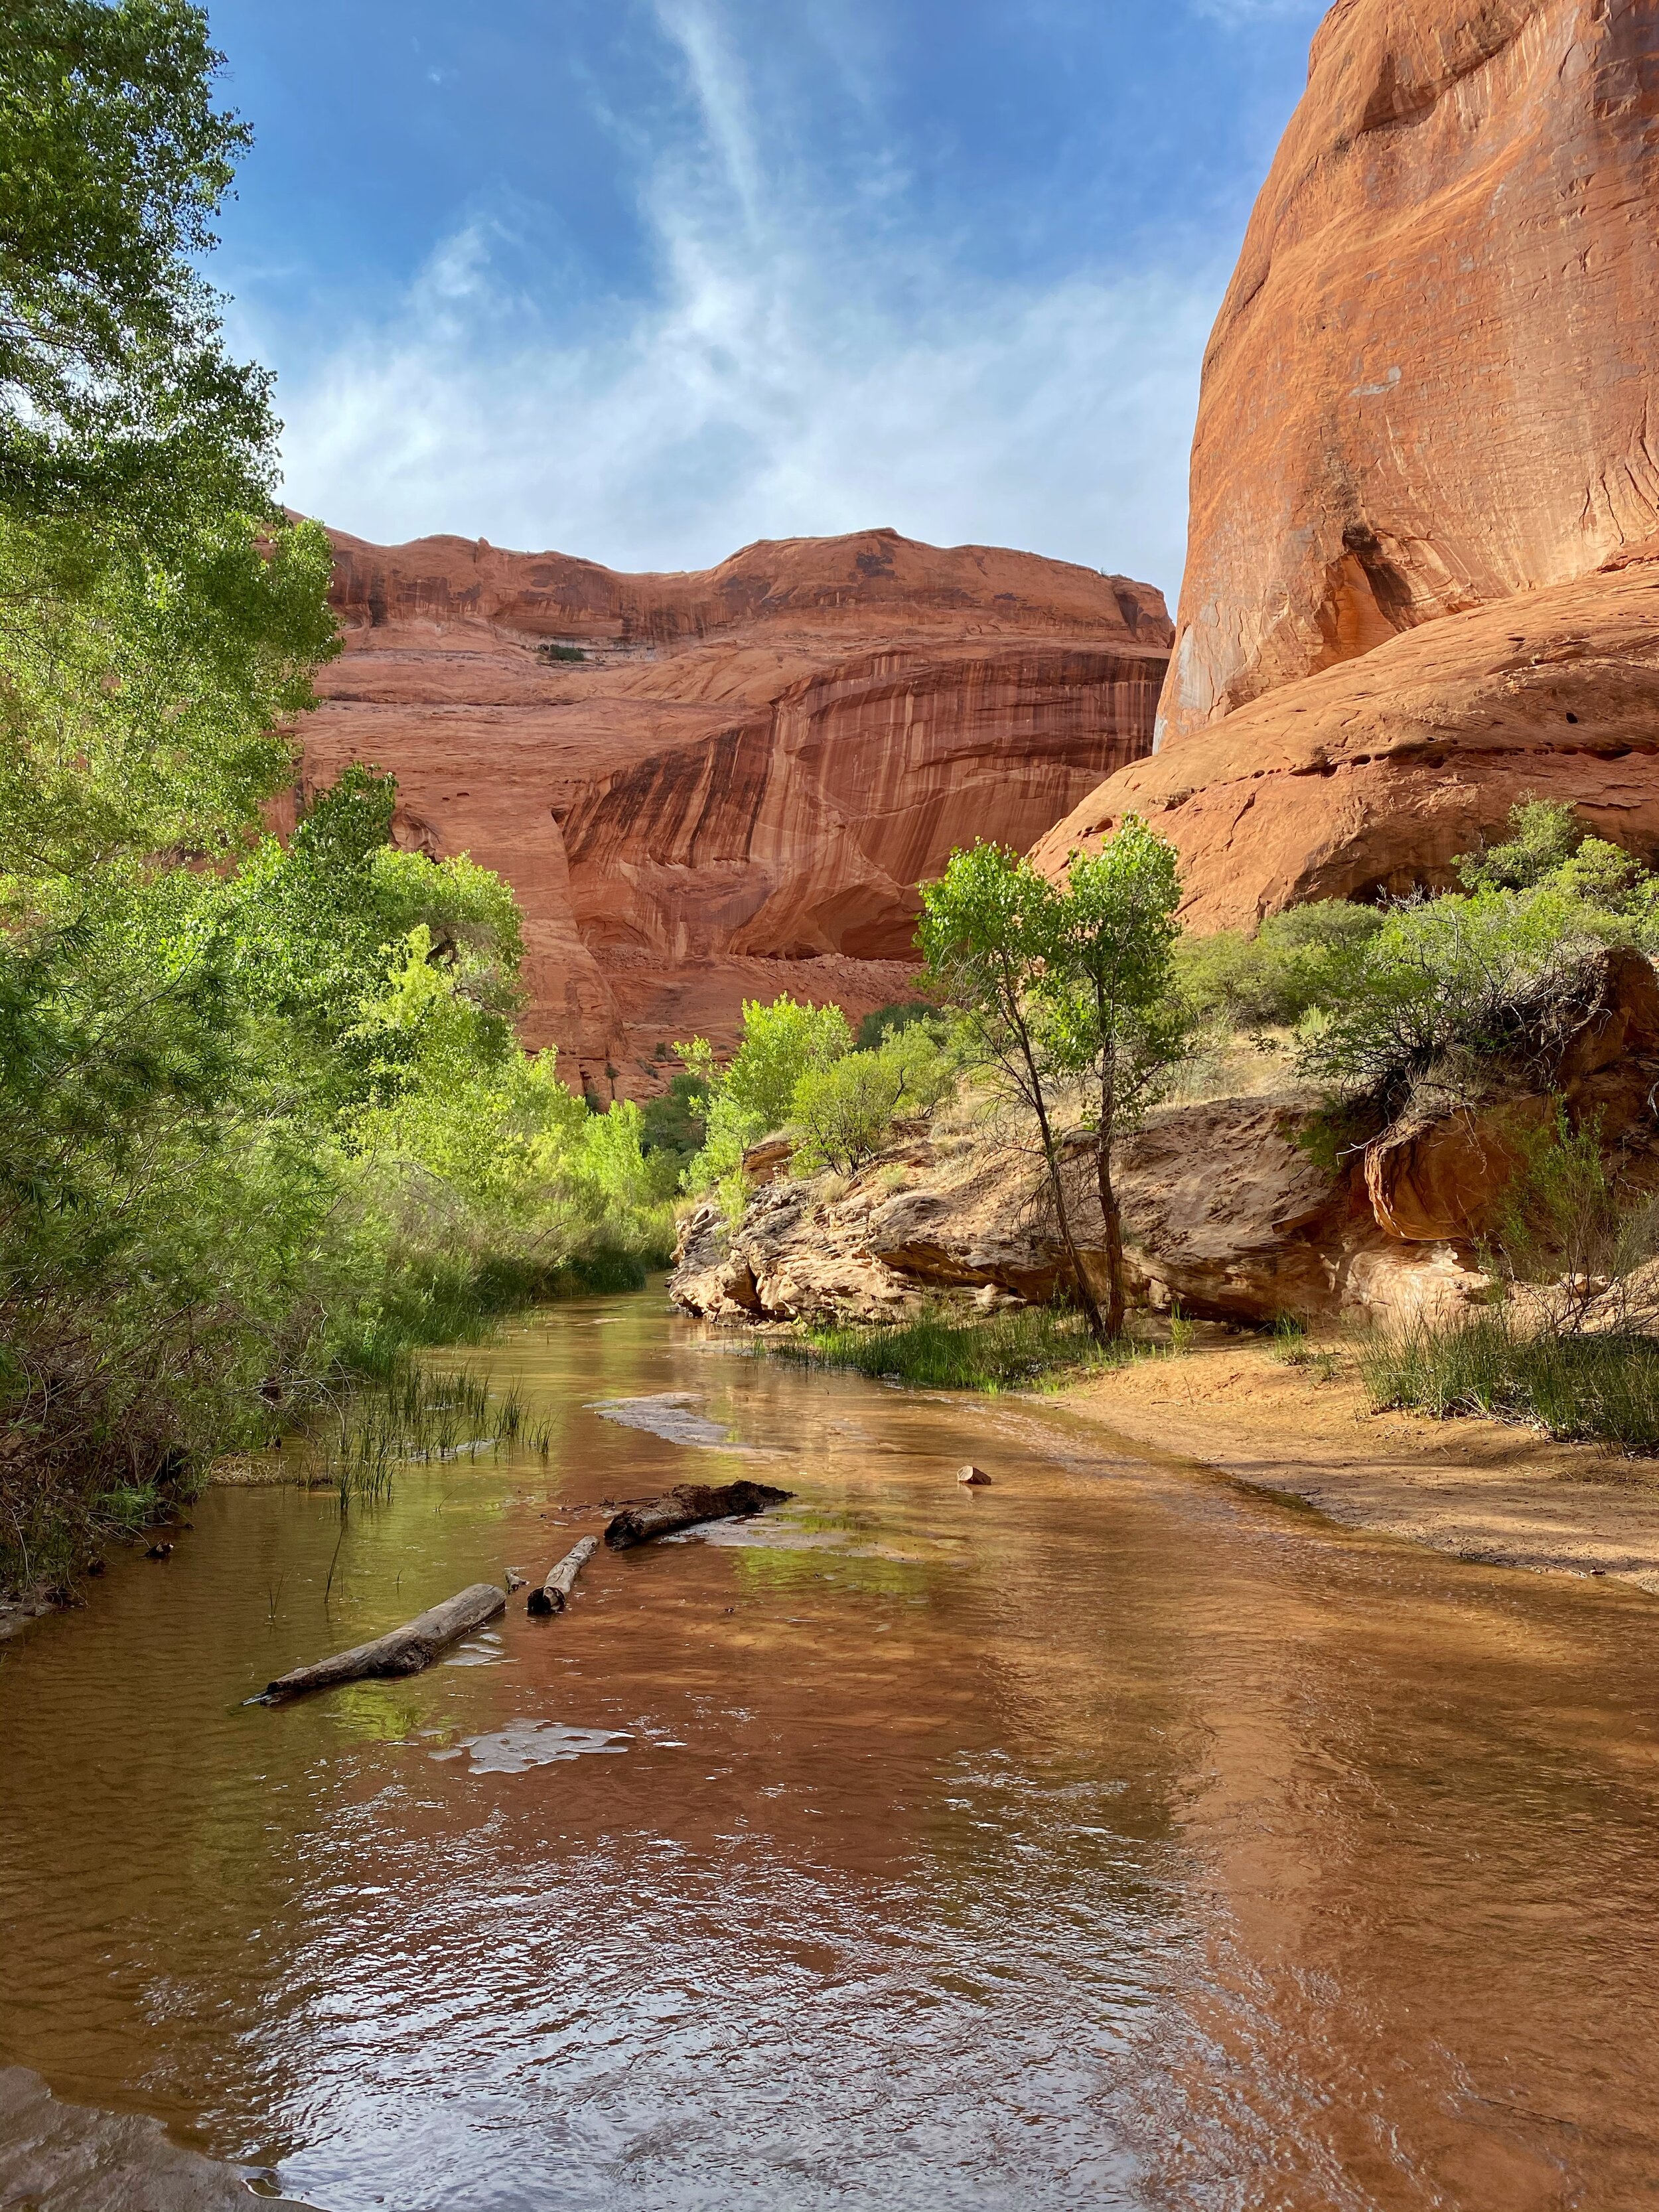
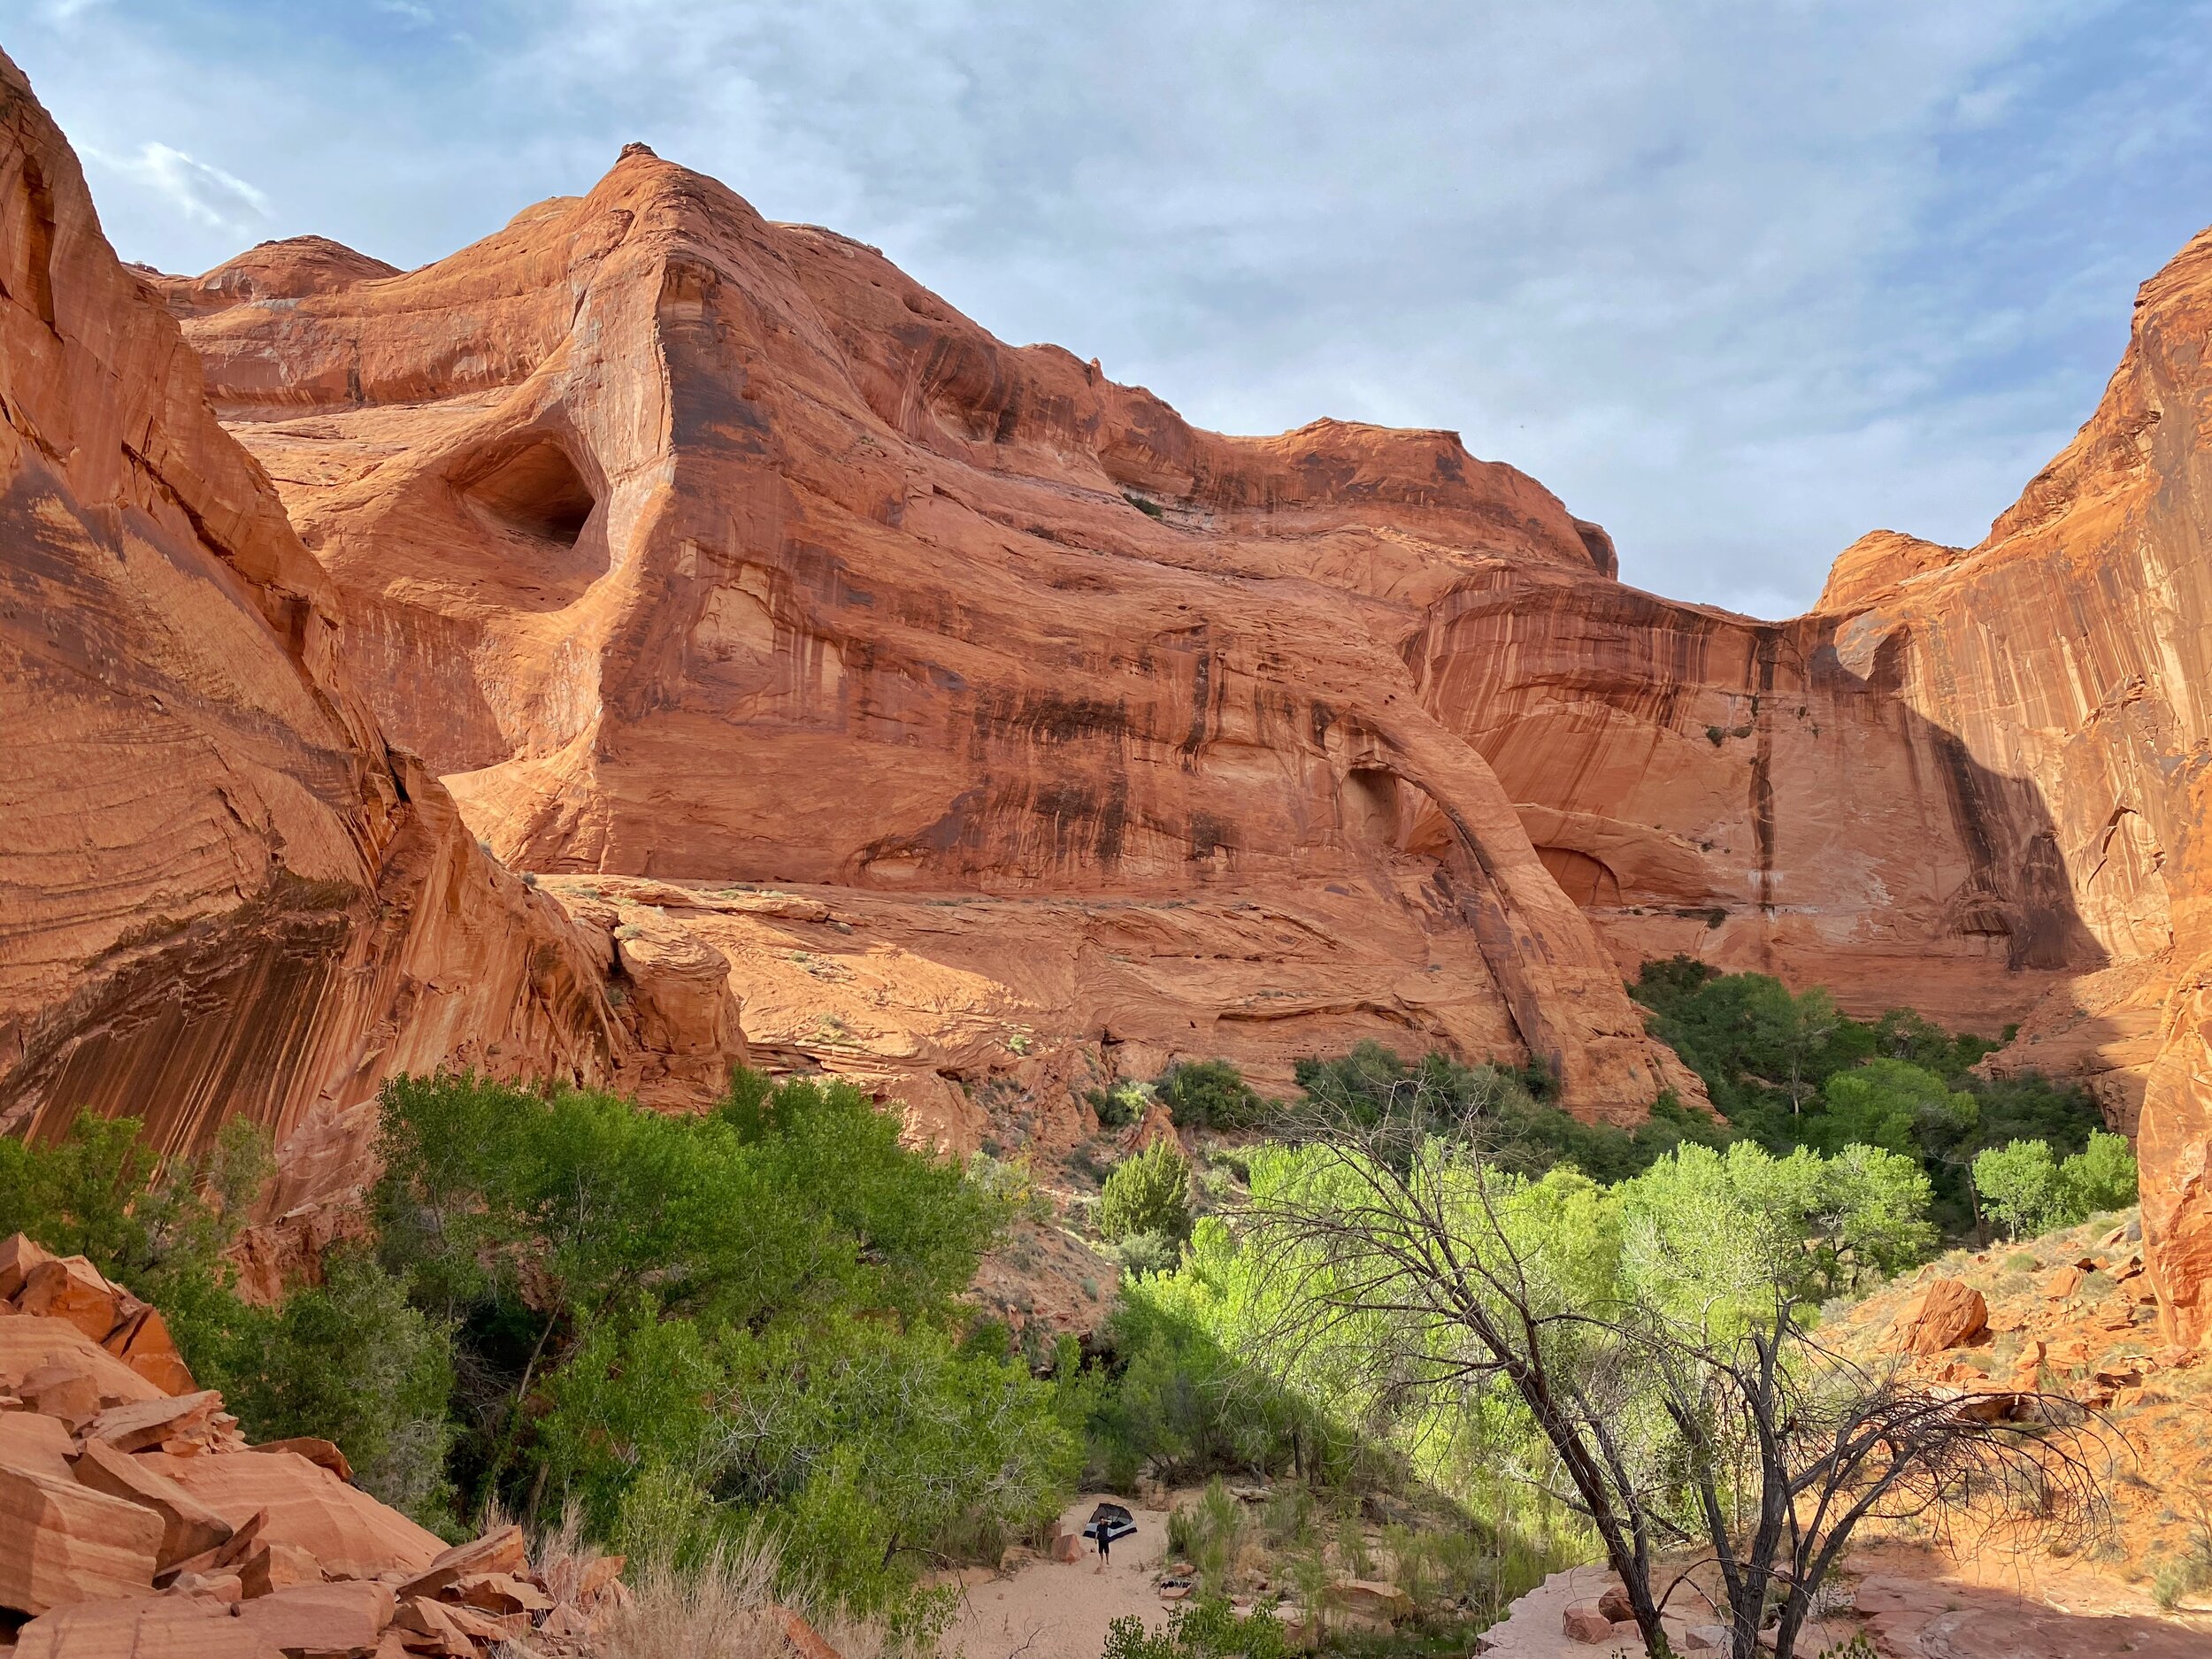
Coyote Gulch is a meandering, zig-zaggy canyon, carved by the Escalante River, that has massive arches, towering caverns, and waterfalls. There's usually water flowing year-round so it's ideal for backpacking because it has reliable water. It resides inside Glen Canyon National Recreation Area where the Escalante River flows into Lake Powell. There are a handful of access points that can make your trip shorter or longer depending on how long you plan to be there. A few routes can easily make it a day hike, but I HIGHLY recommend backpacking to explore more.

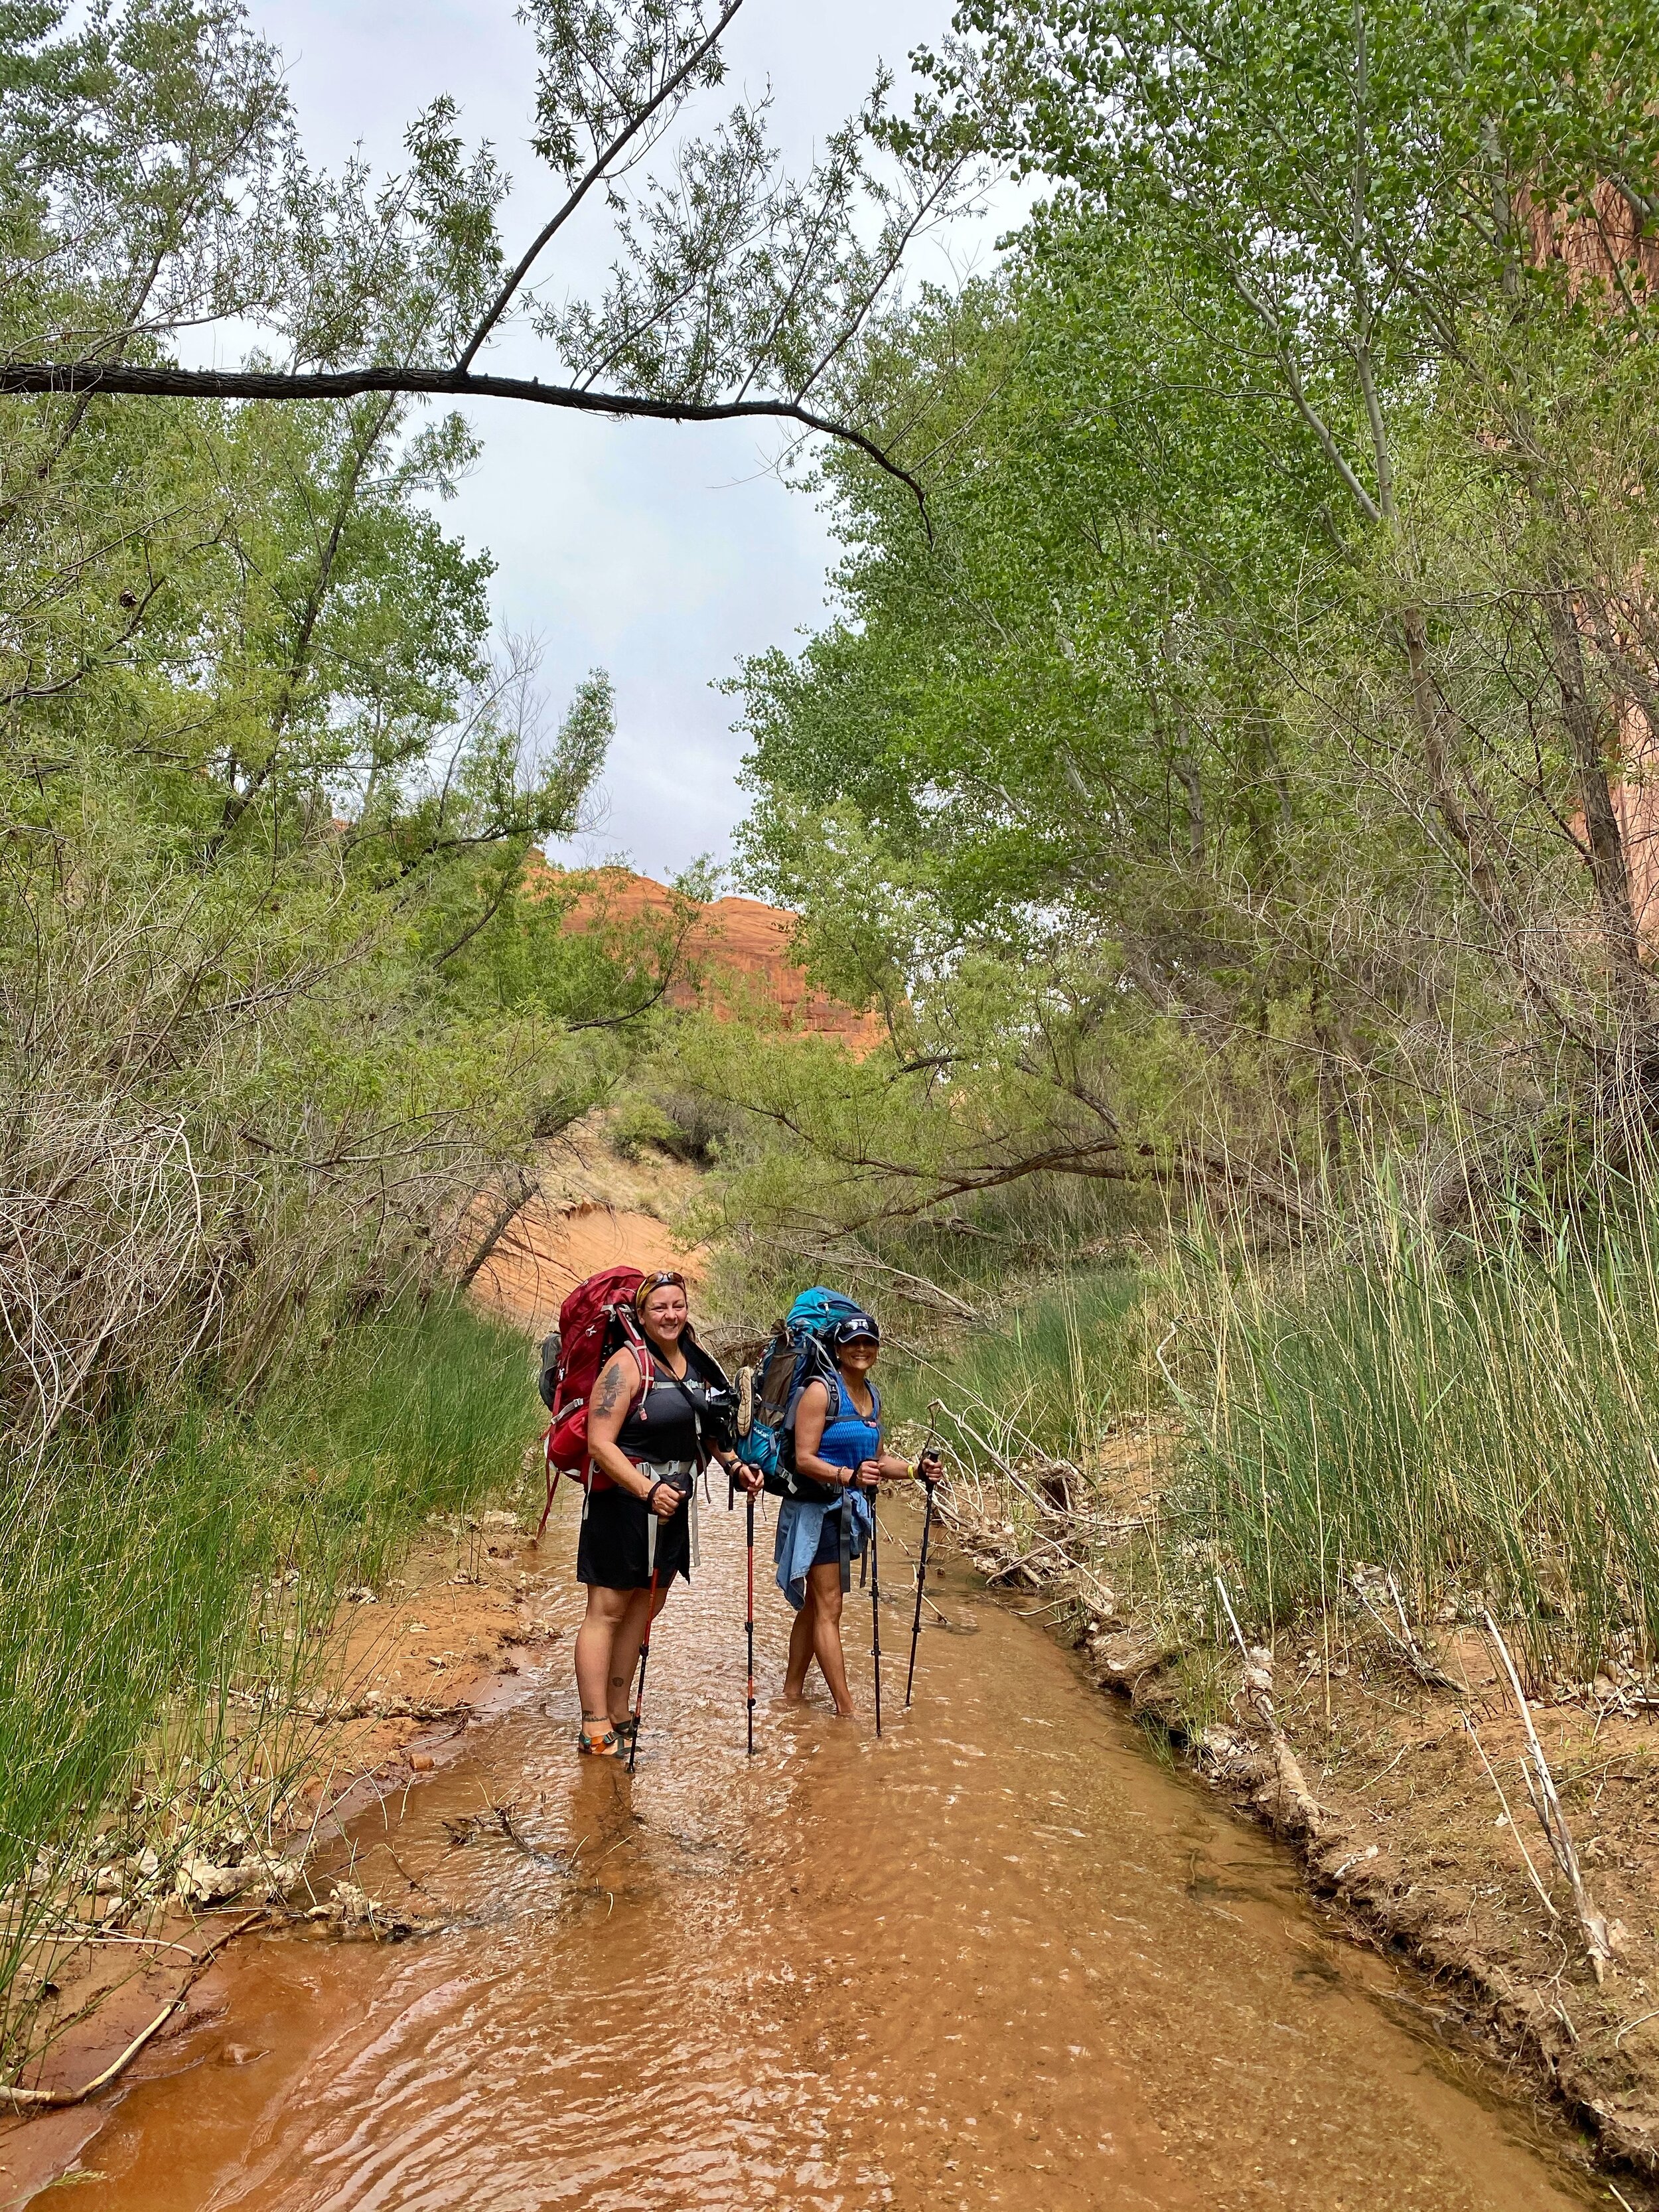
We opted to hike into the Gulch via Hurricane Wash. It's one of the longer routes, but it's also very easy to follow, which is what we were going for. Also, to get to the other access points, we would've needed a vehicle with 4WD and possibly some climbing rope; which we didn't have this trip.
In all honesty, one of the hardest parts of this trip for me was driving on Hole in the Rock Road. It's a dirt and gravel road that's grated like a washboard and it's painfully slow going in a car like my Toyota minivan; like between 10 and 15 MPH most of the way. There are lots of wonderful places to visit along this road, but driving 35 miles one-way took almost 2.5 hours the first day and just over 3 hours the last day. When we do this trip again, I really, really want to have a vehicle that will allow us to get there faster.
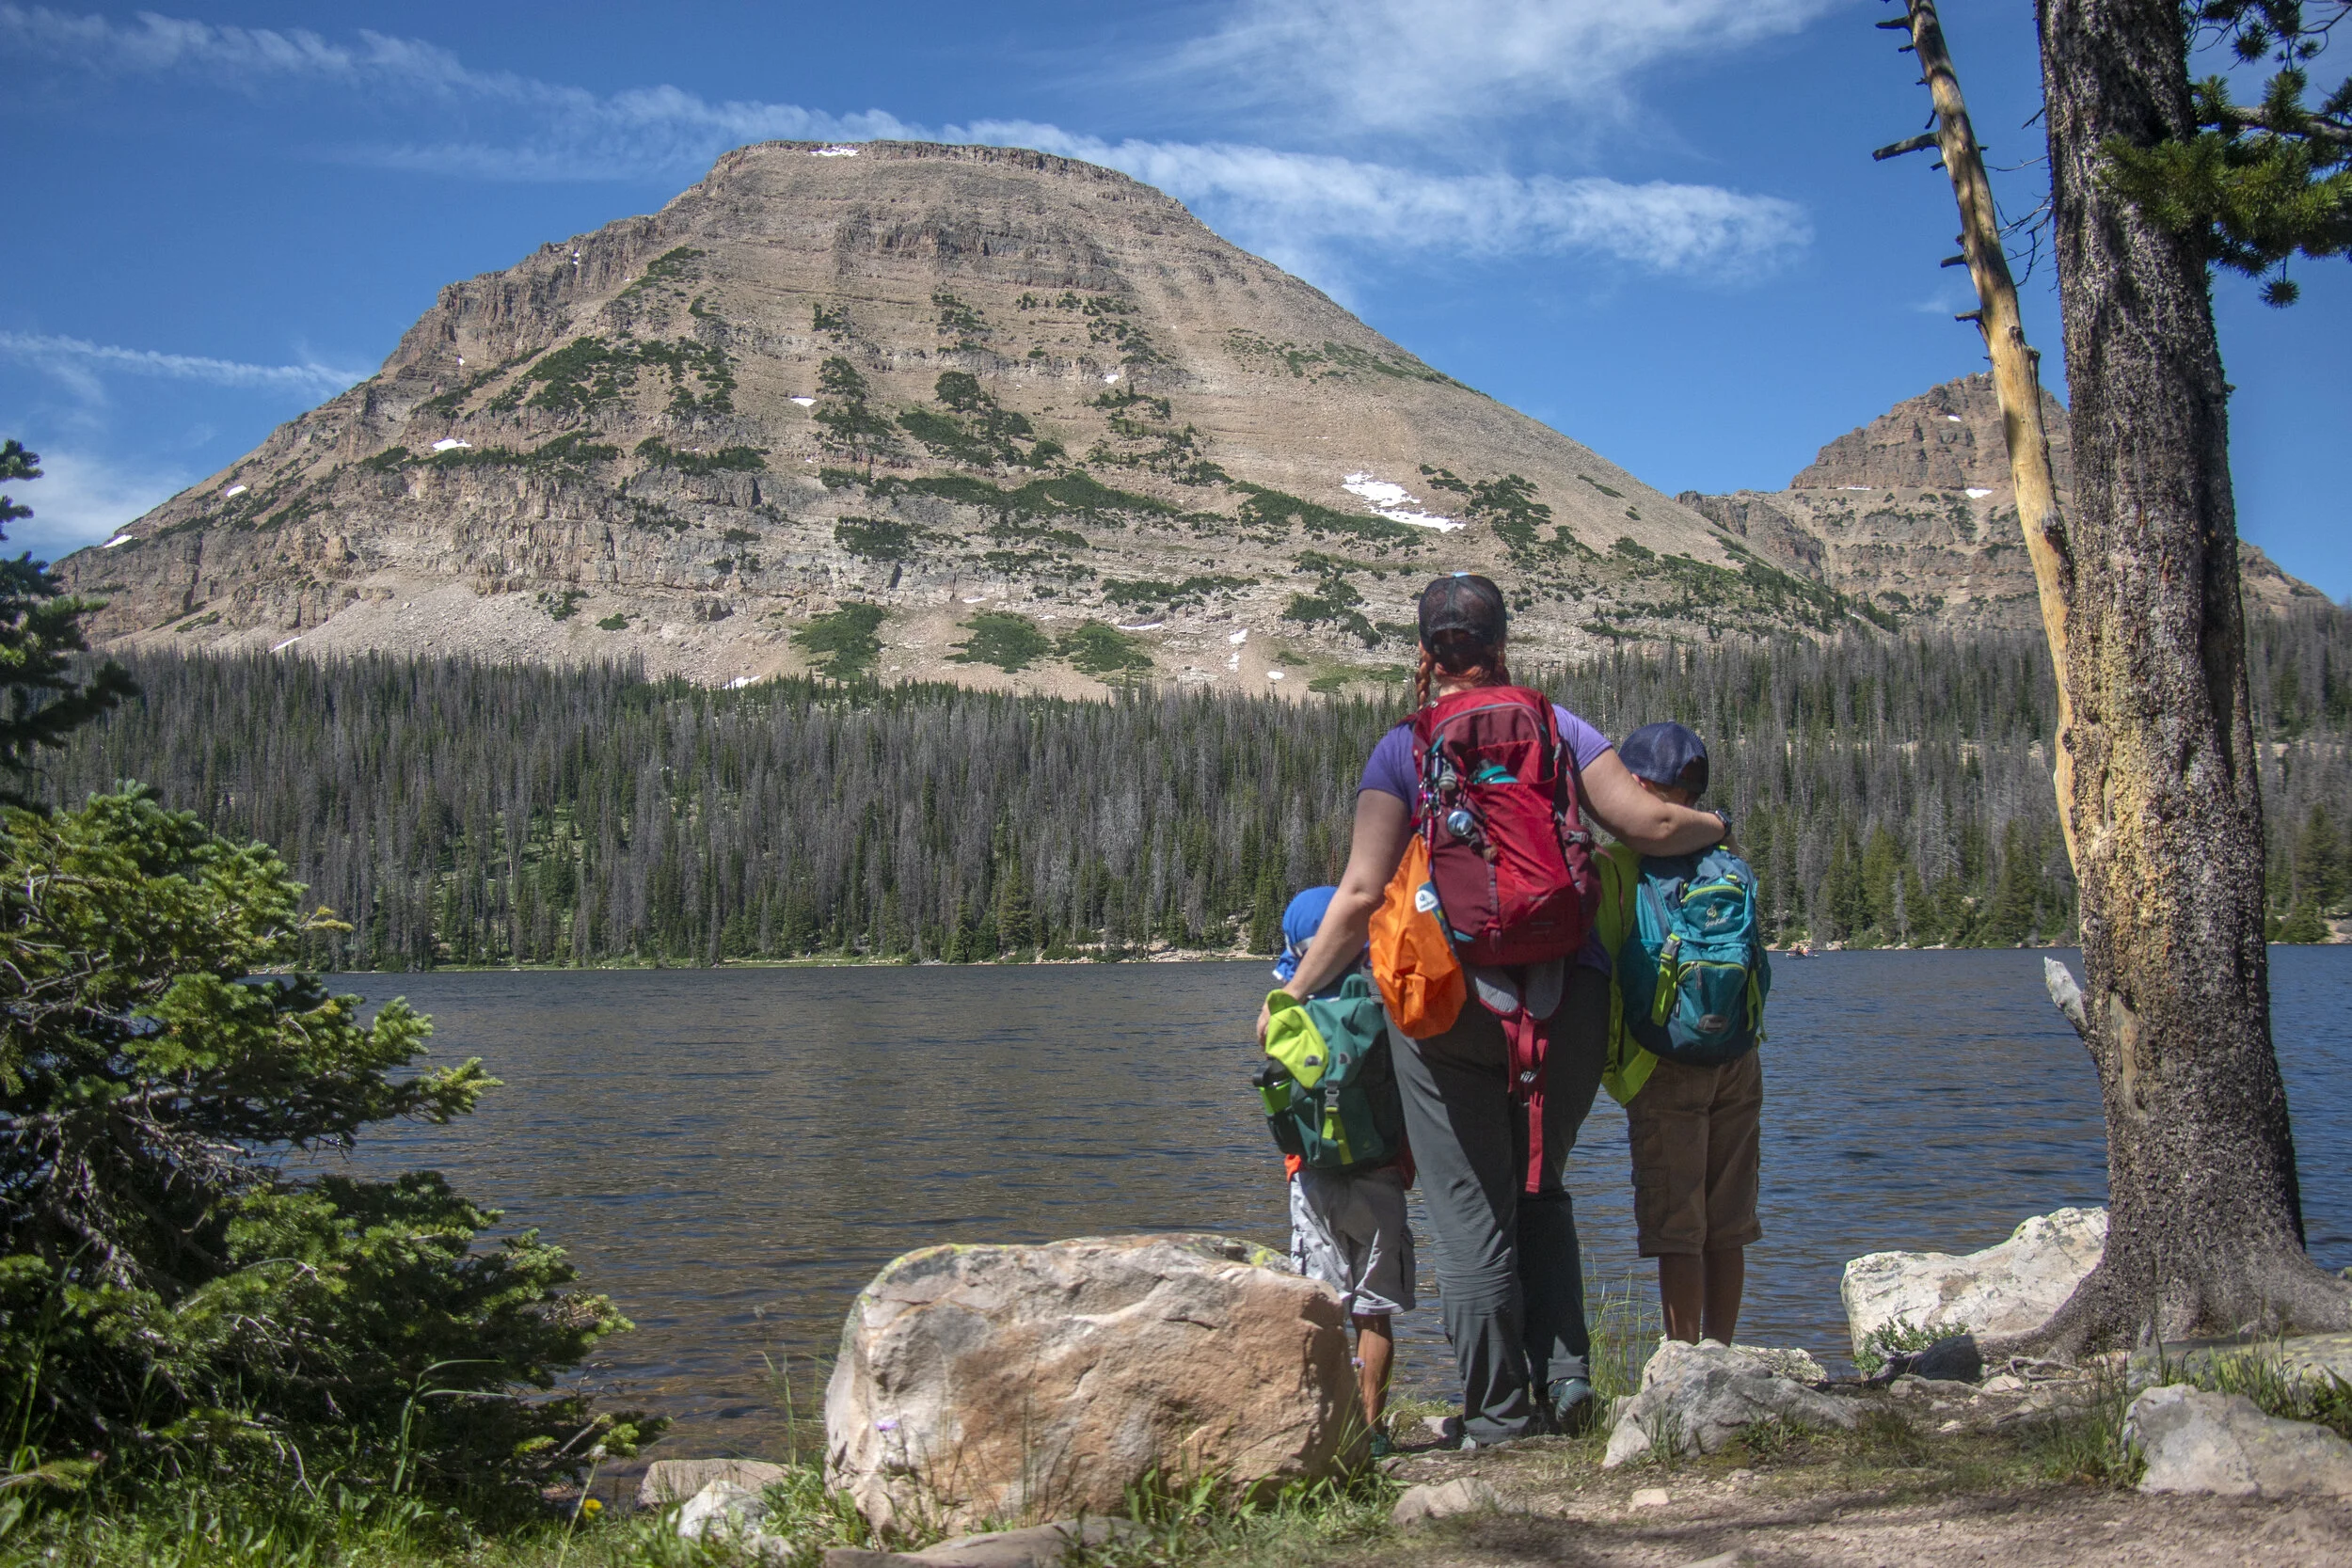
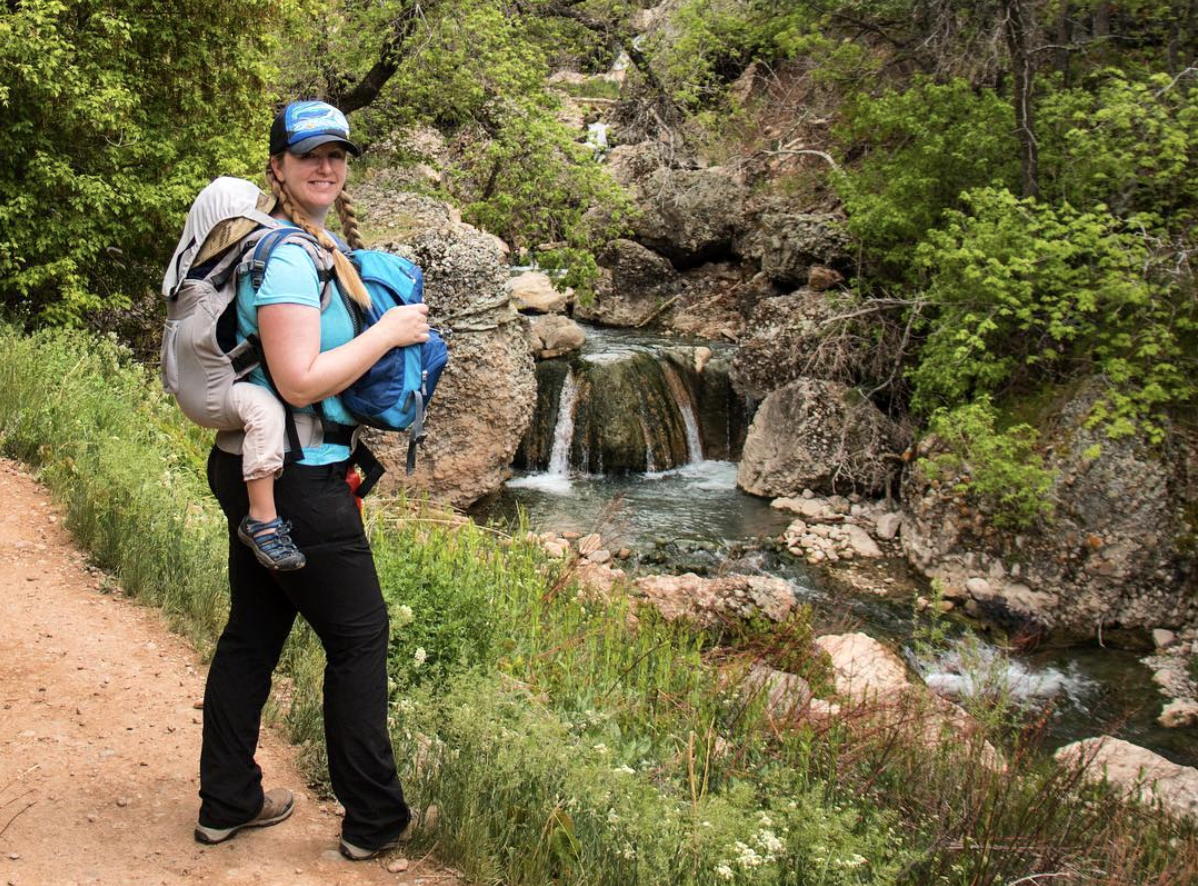
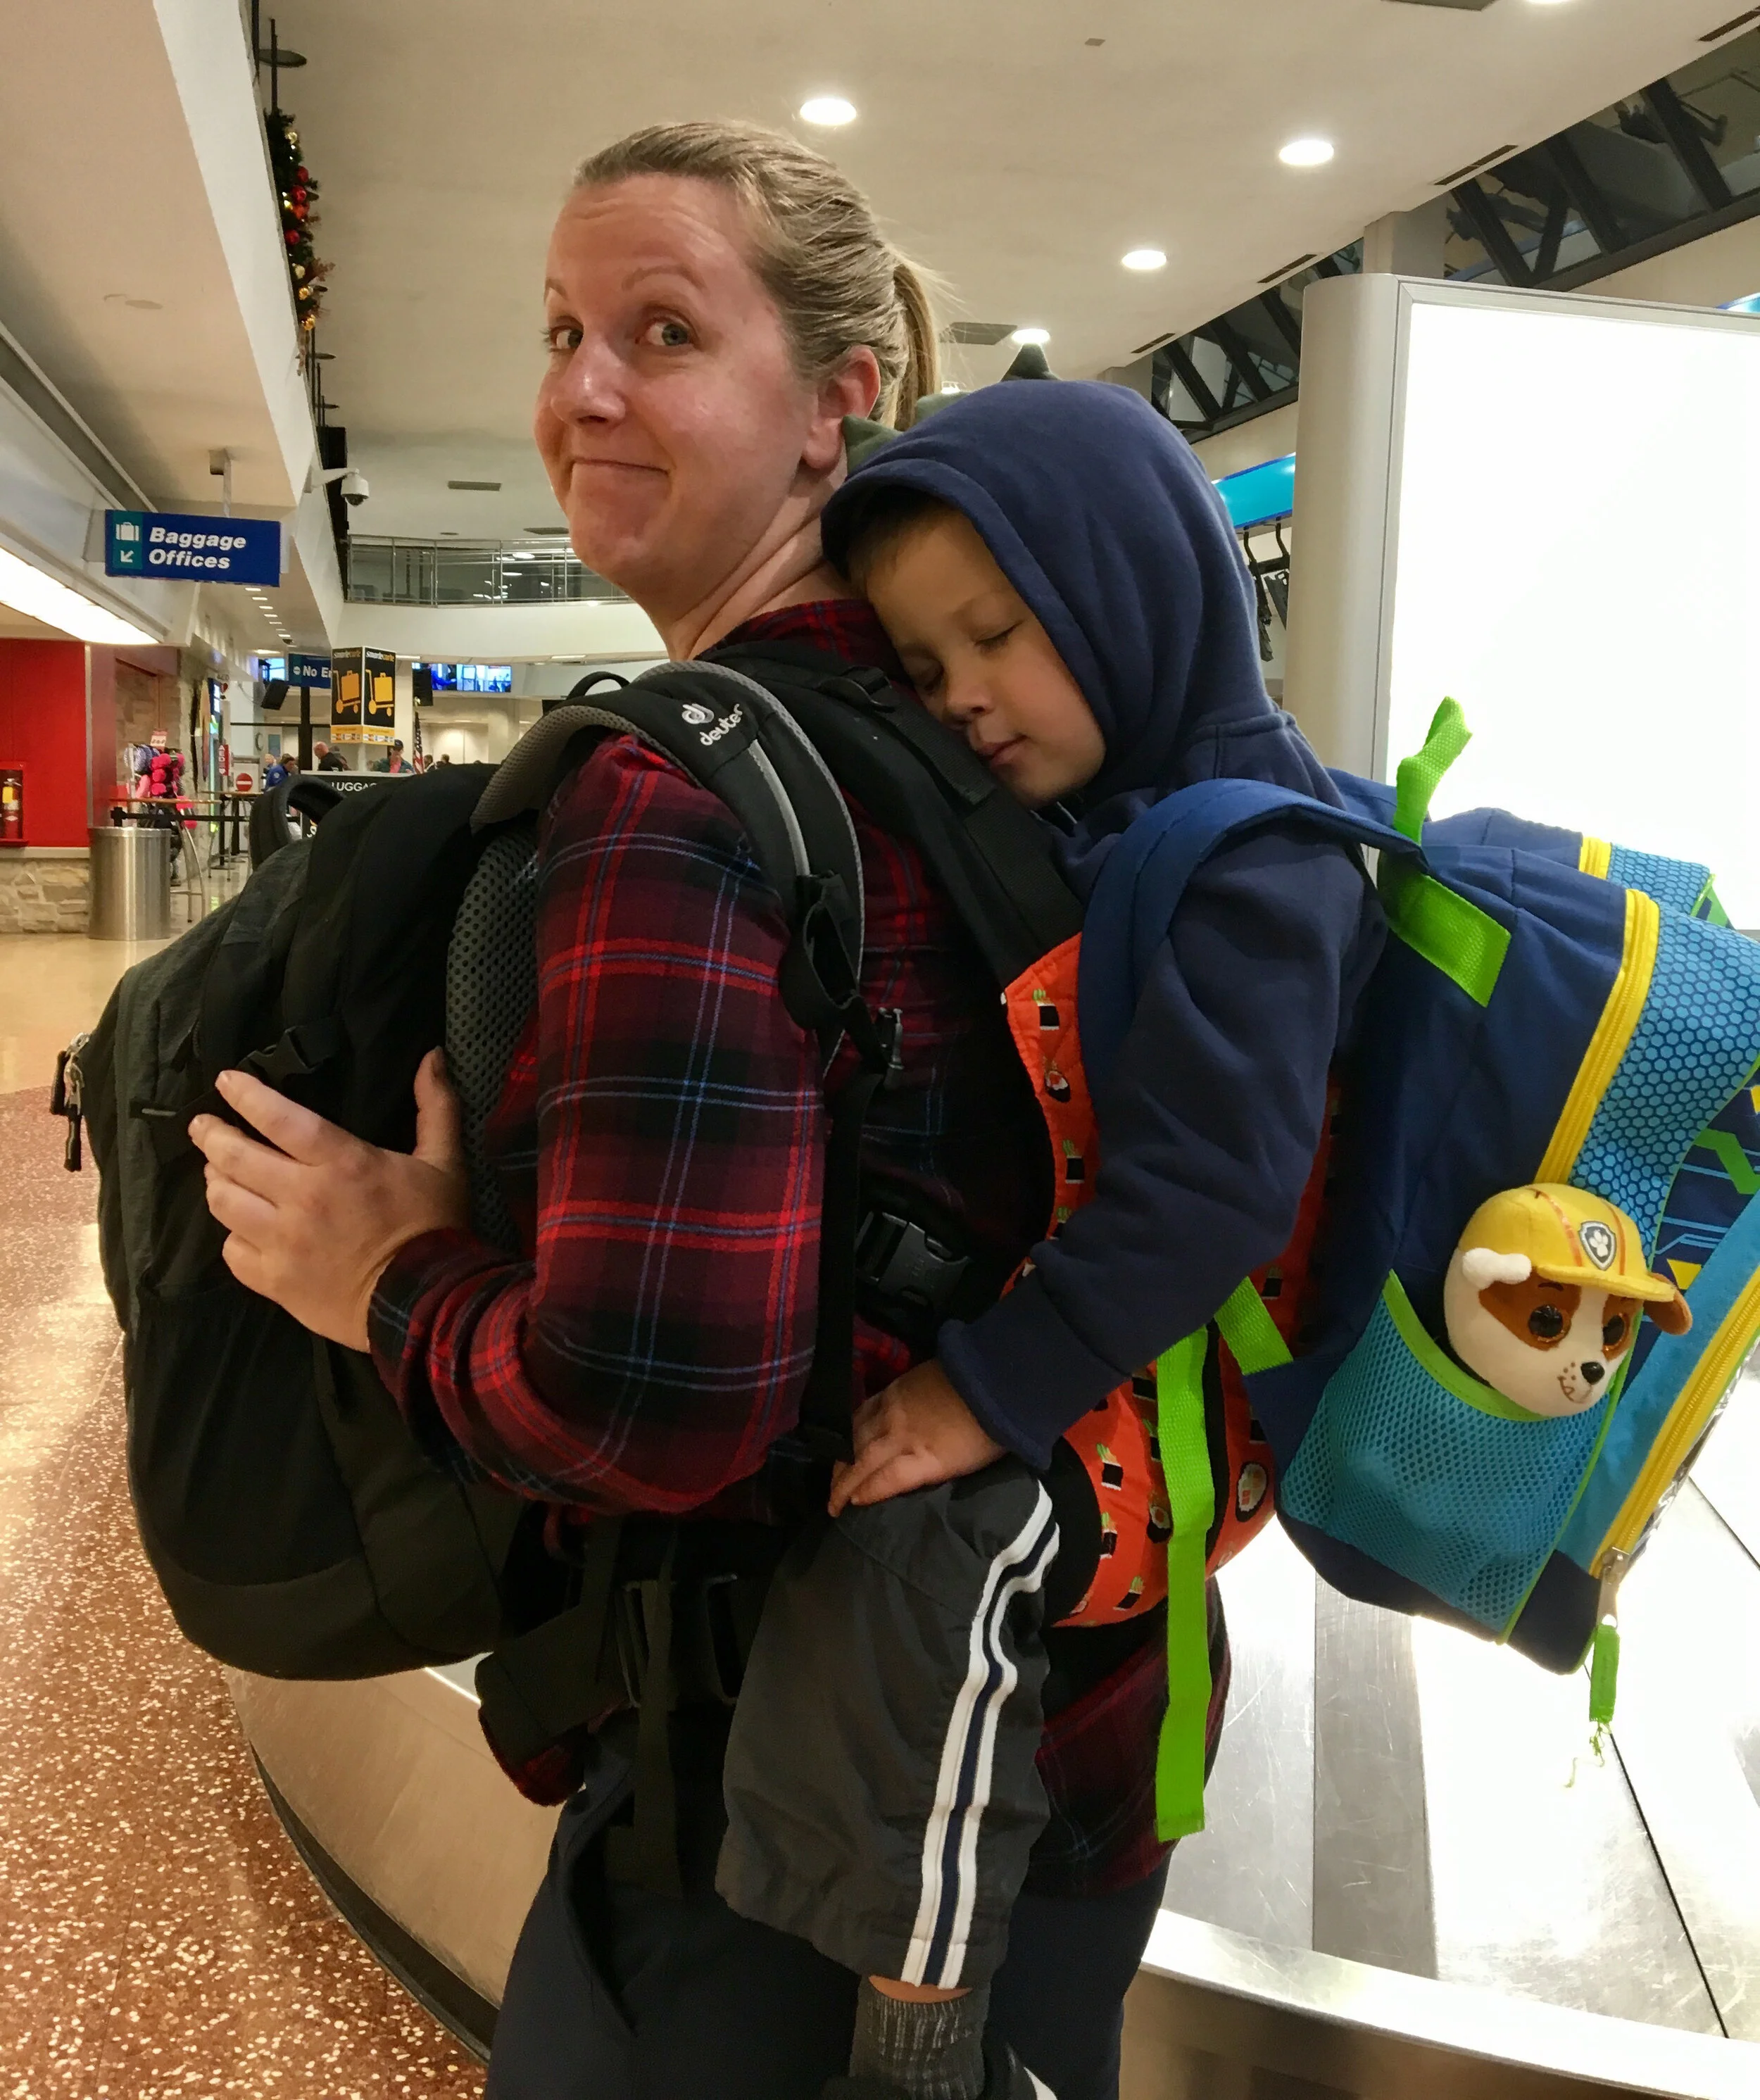
Hiking with a heavy pack isn't all that different from hiking with a toddler on my back, so while it's been a while since I hiked carrying a kid, my body remembered how pretty quickly.
We hiked into the canyon late in the afternoon on Tuesday and made good time reaching the confluence of Hurricane Wash and the Escalante River right around headlamp-o-clock. There were at least half a dozen tents camped at the confluence, so we hiked on for another mile before stopping for the night at an empty, sandy beach that stuck out from a bend in the river. As the full moon rose, it cast bright light on the sandstone cliffs and made it look like there was a spotlight. There was no way our cameras could capture it, but it was pretty amazing. It was beautiful watching the stars and bats come out.
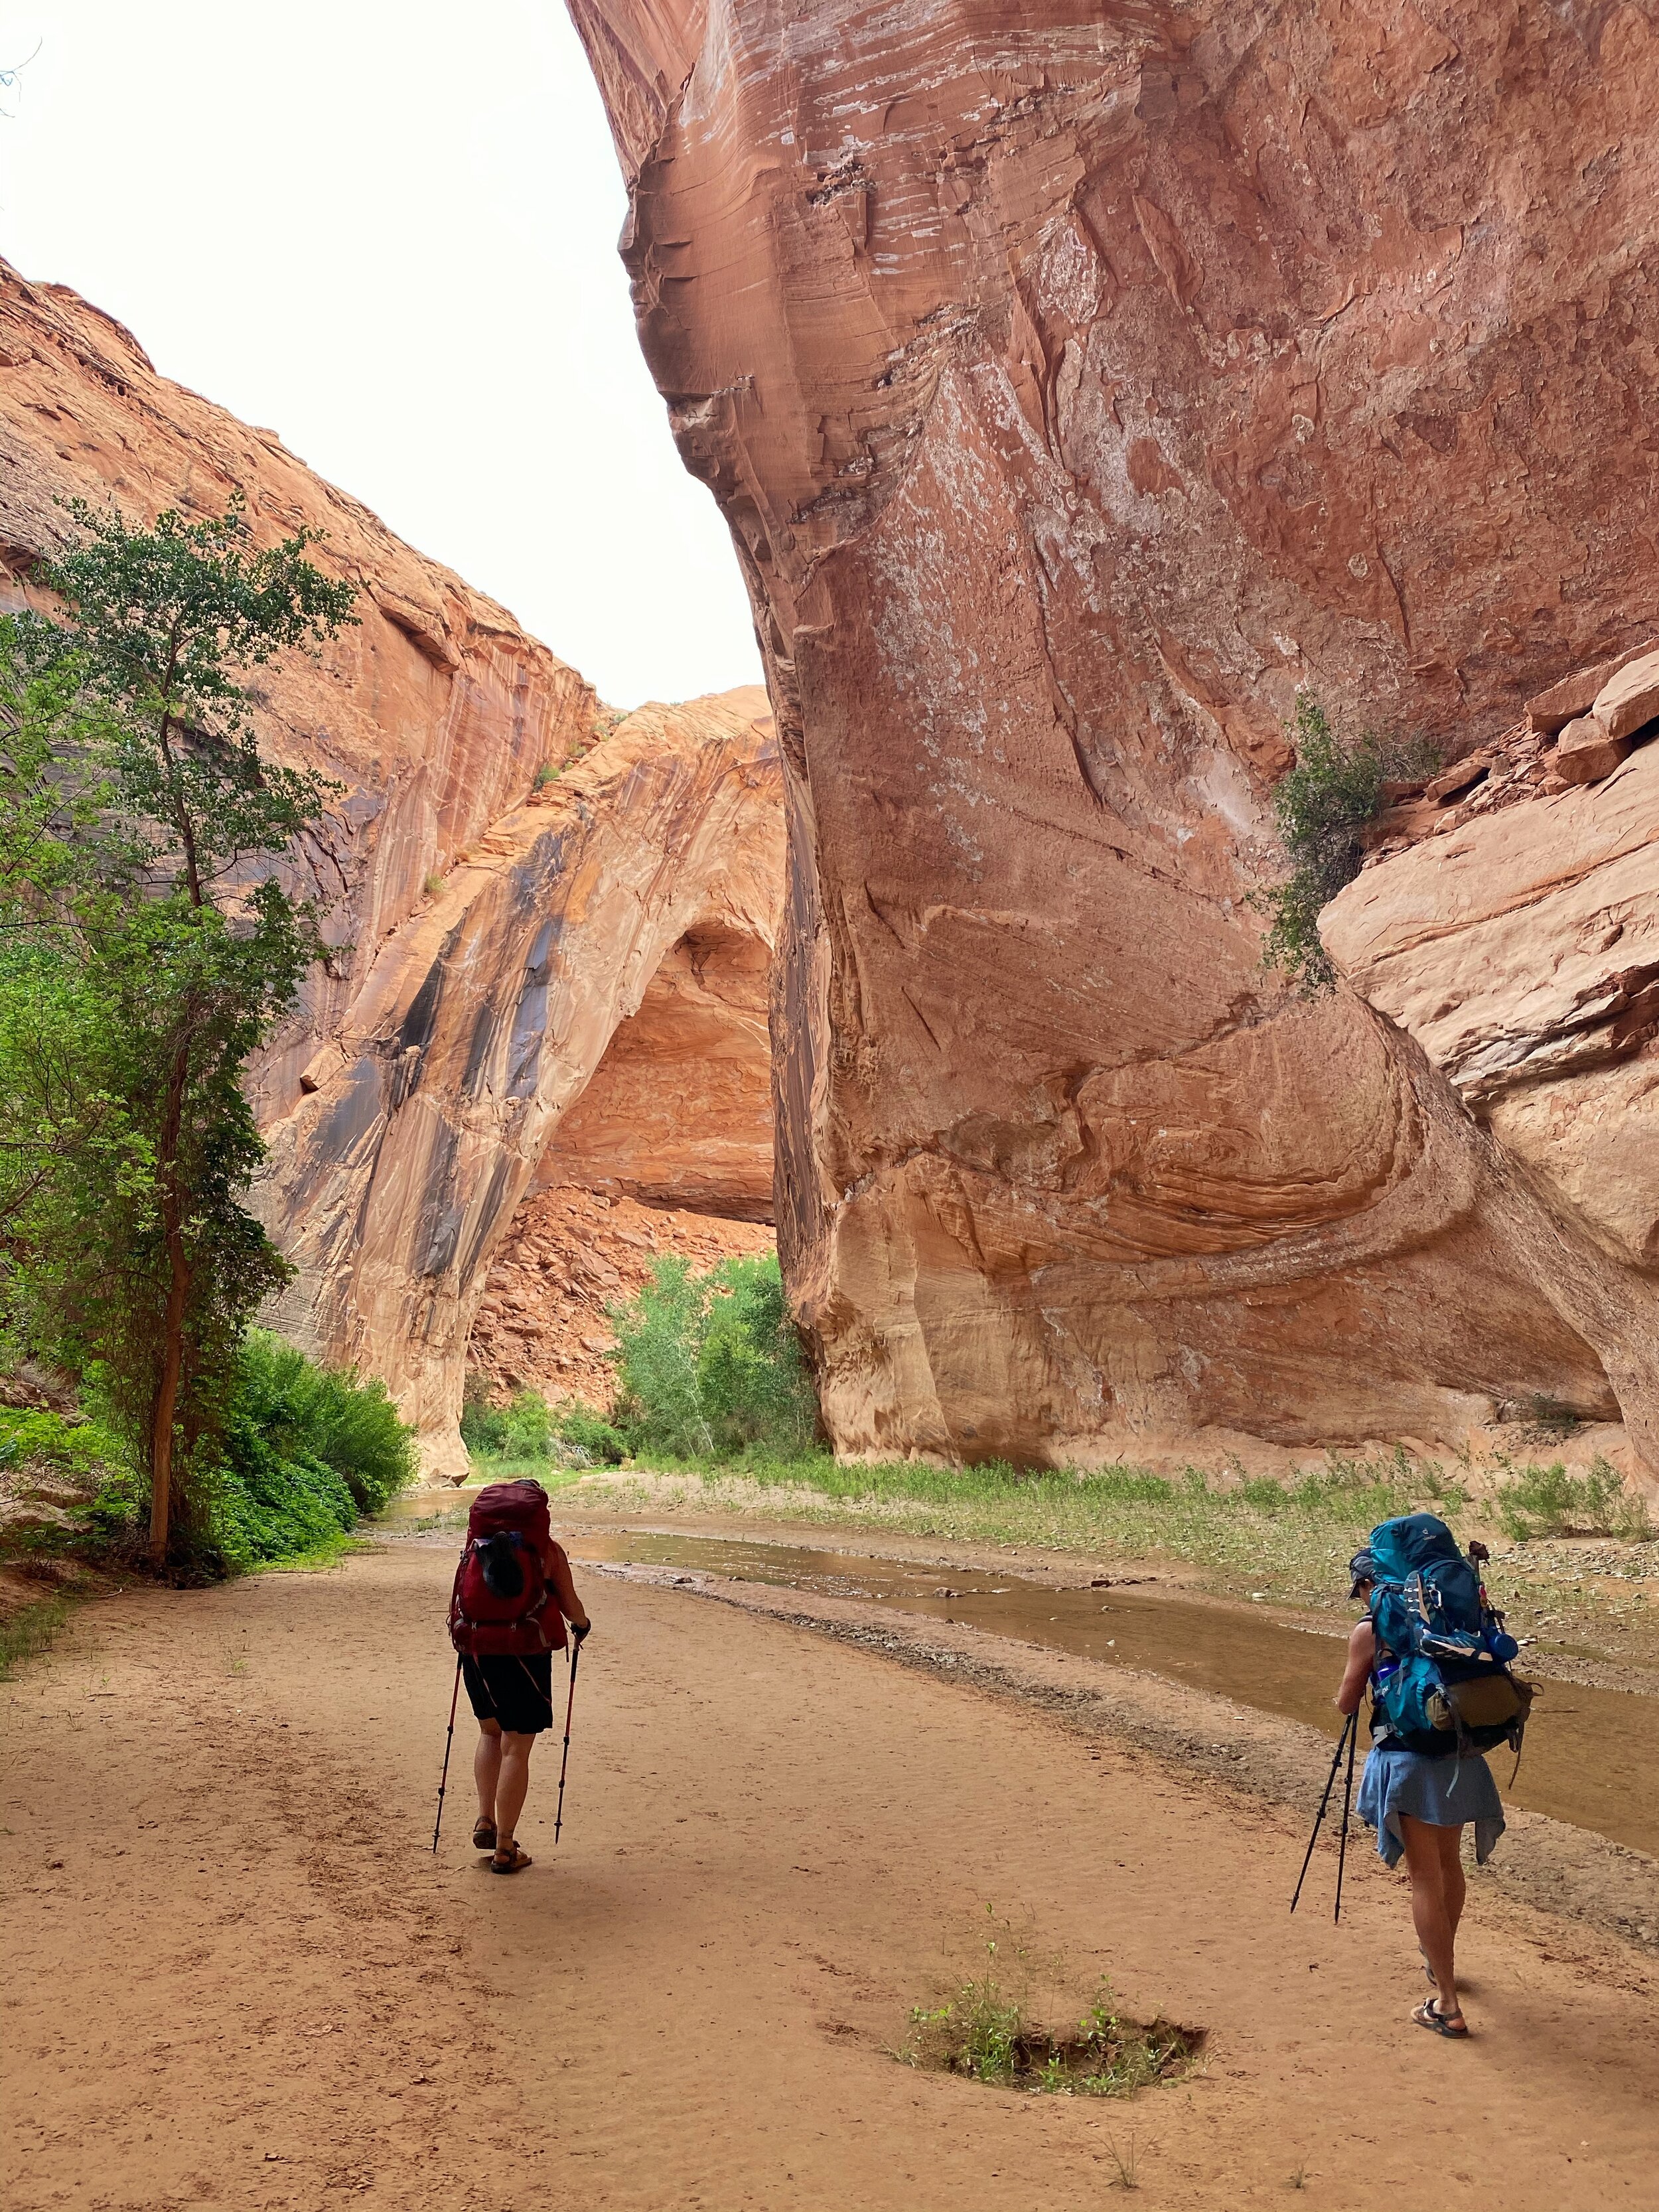
In writing this post and sorting through the photos that all three of us took, one thing that stands out to me is that photos really don’t do this canyon justice; especially when it comes to the sheer size of the sandstone cliffs. There are a few shots that have people in them and you can barely see them because the cliffs are so huge. I’ll try to point them out in the captions.

They are so tiny compared to the cliffs!
The next morning we packed up and headed further into the Gulch intending to explore Jacob Hamblin Arch and to get closer to Coyote Natural Bridge or Cliff Arch, depending on how we were feeling. There was some cloud cover that morning, so we were spared having the hot sun beating down on us.
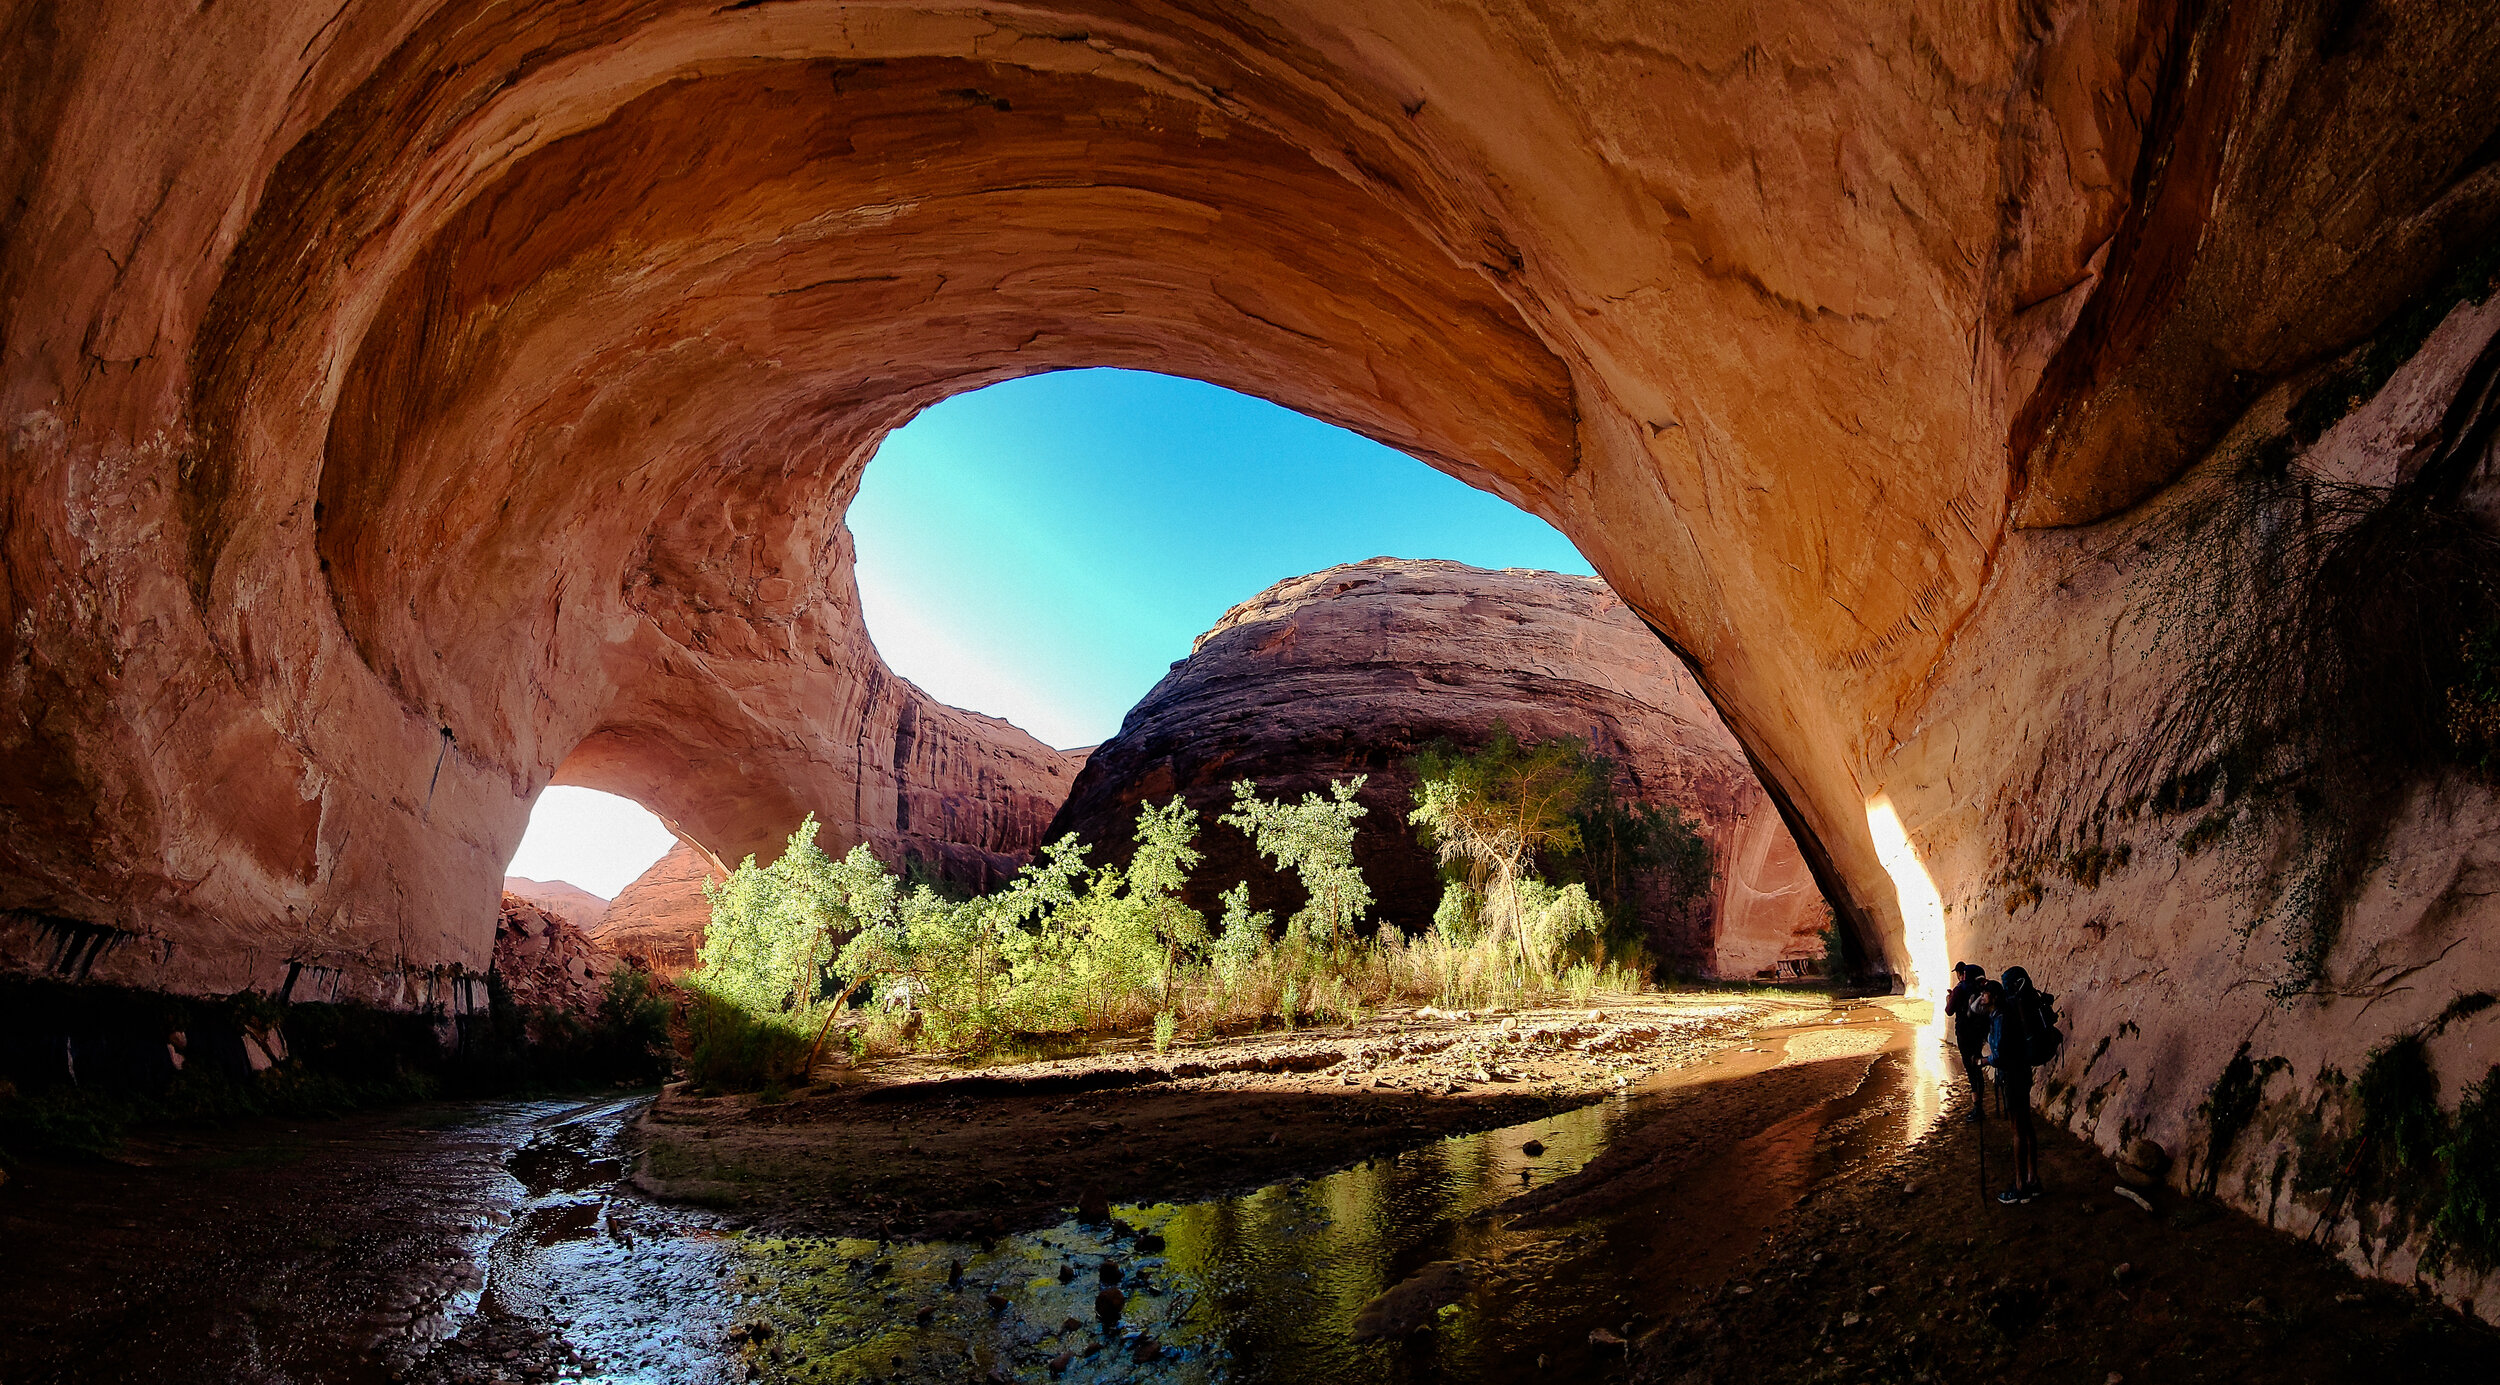
Image by Michelle Craig
Jacob Hamblin Arch was freaking epic!! Cameras really can’t capture the scale. My iPhone struggled with the light, but Michelle’s Galaxy did a great job. I had brought a few stickers with me and made sure to get a photo of my sticker at Jacob Hamblin Arch.
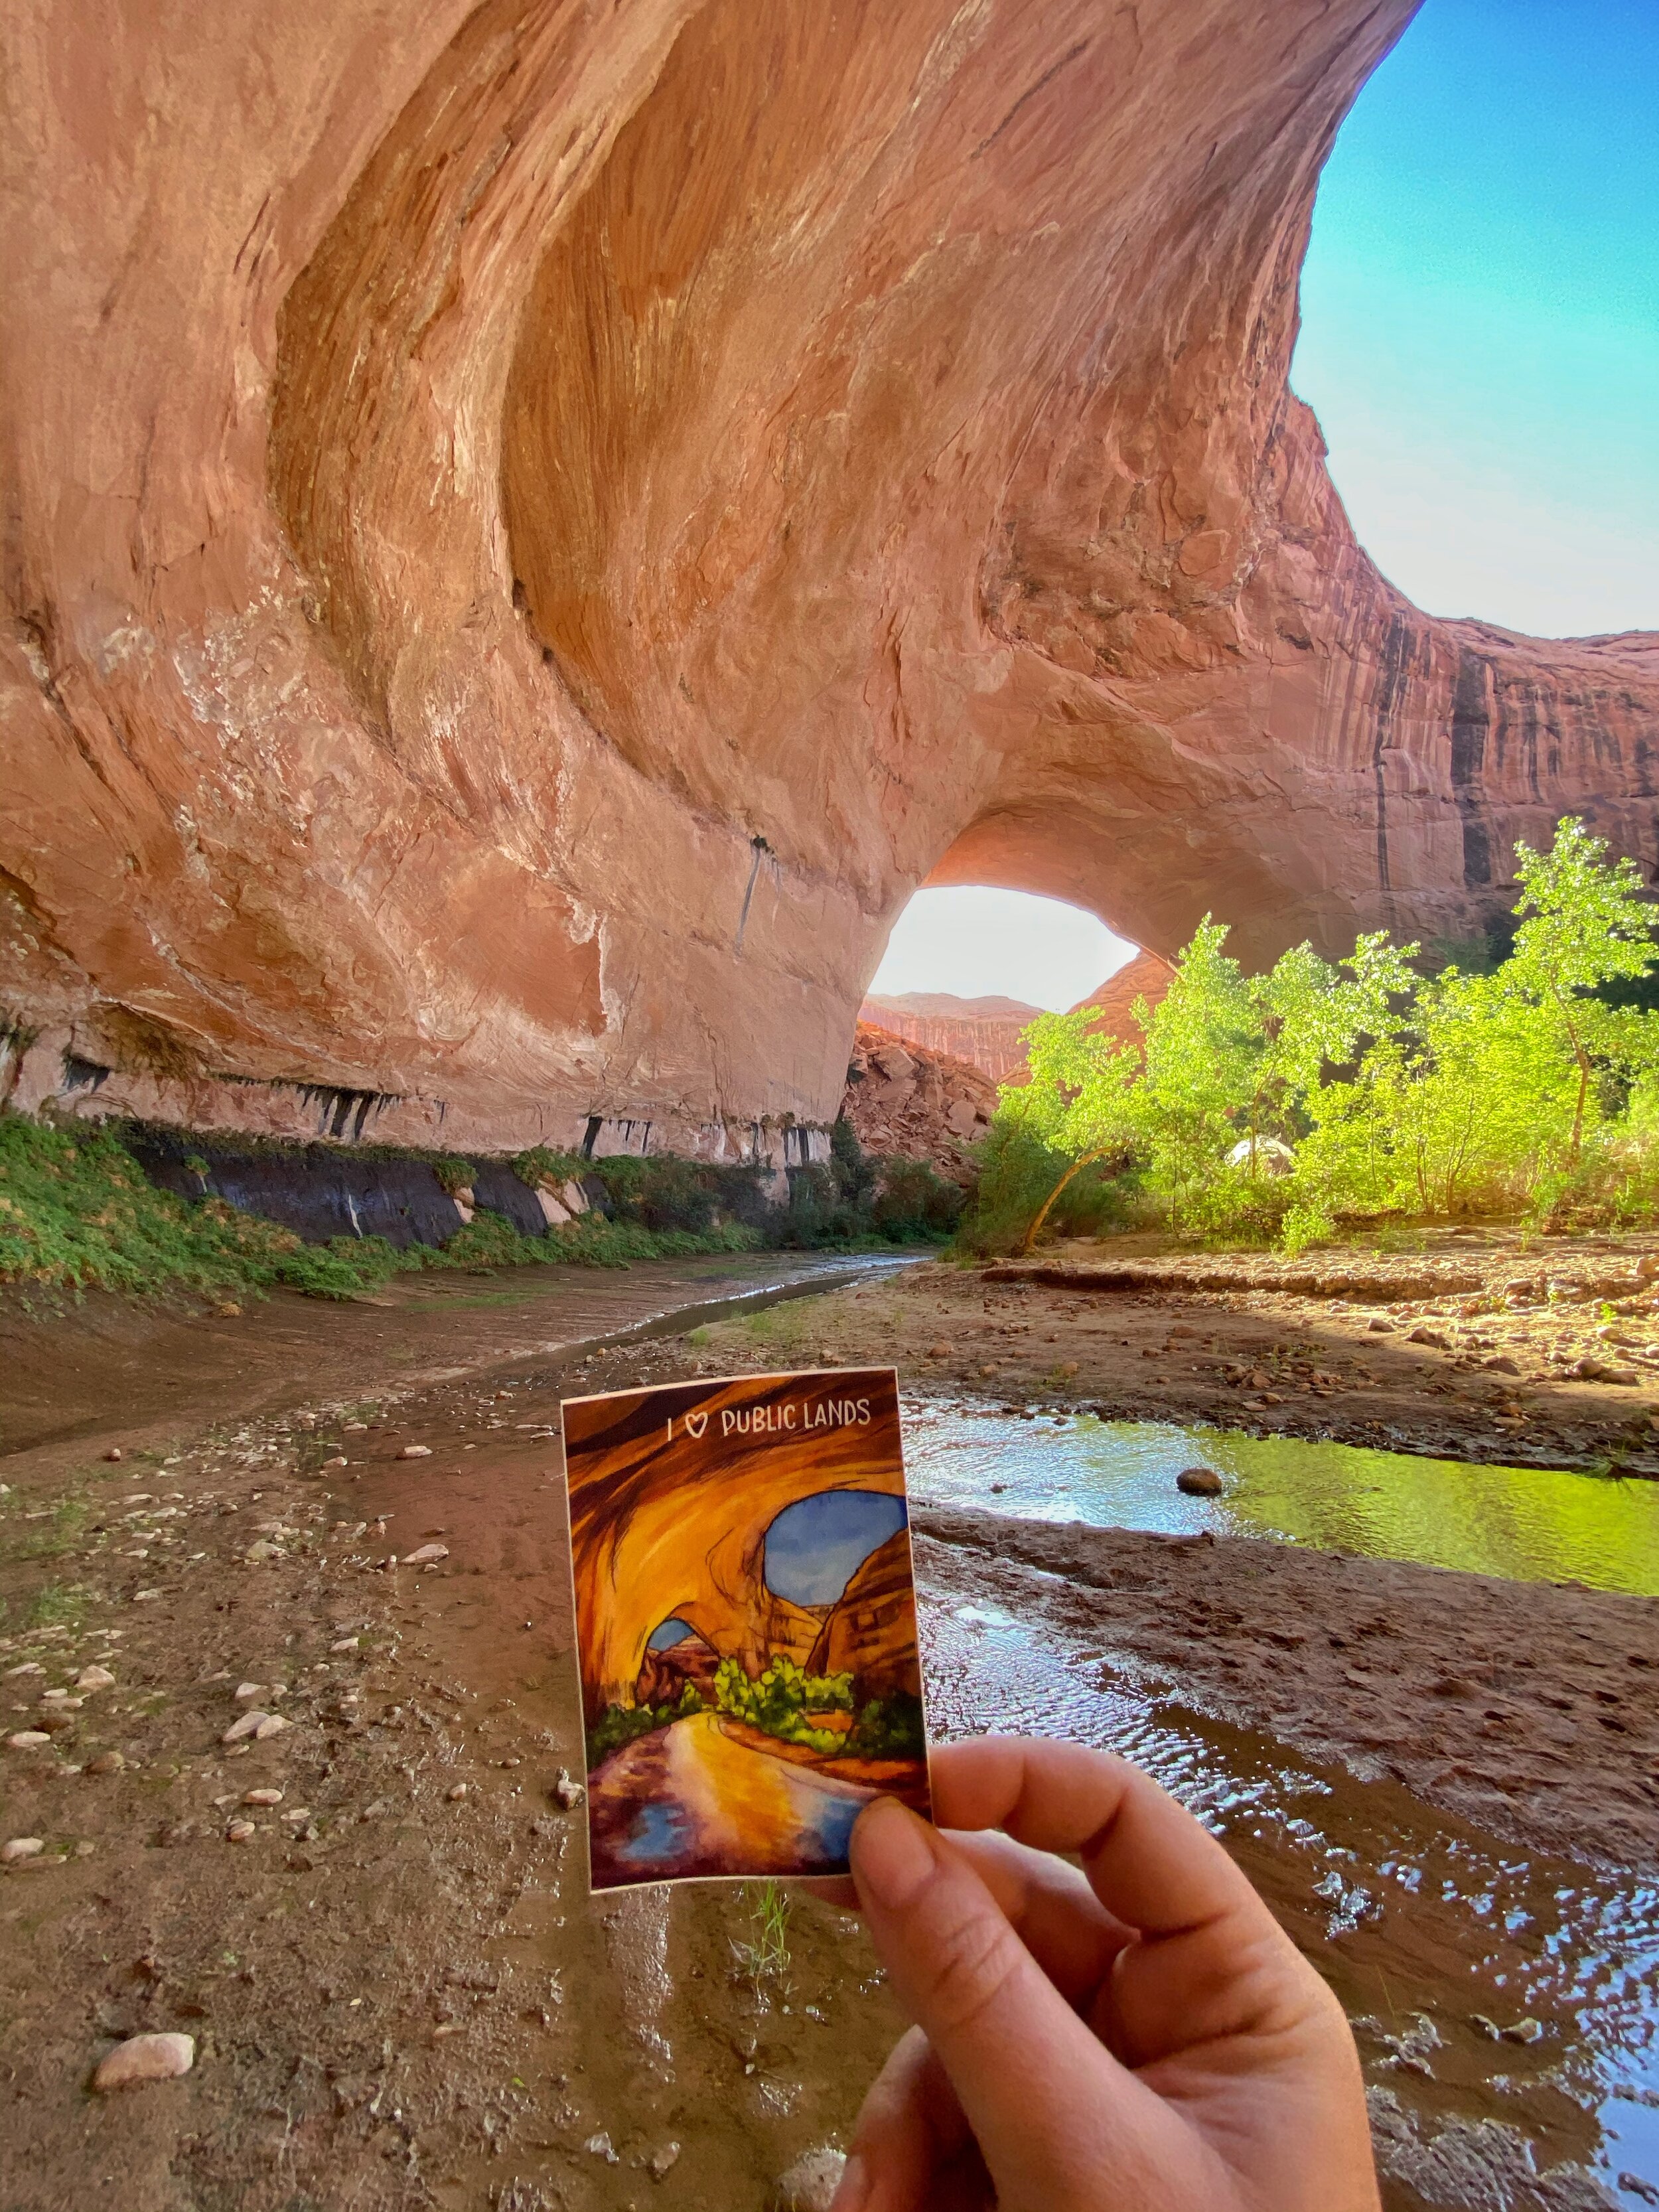
Click on this photo if you’d like to buy one of these stickers.
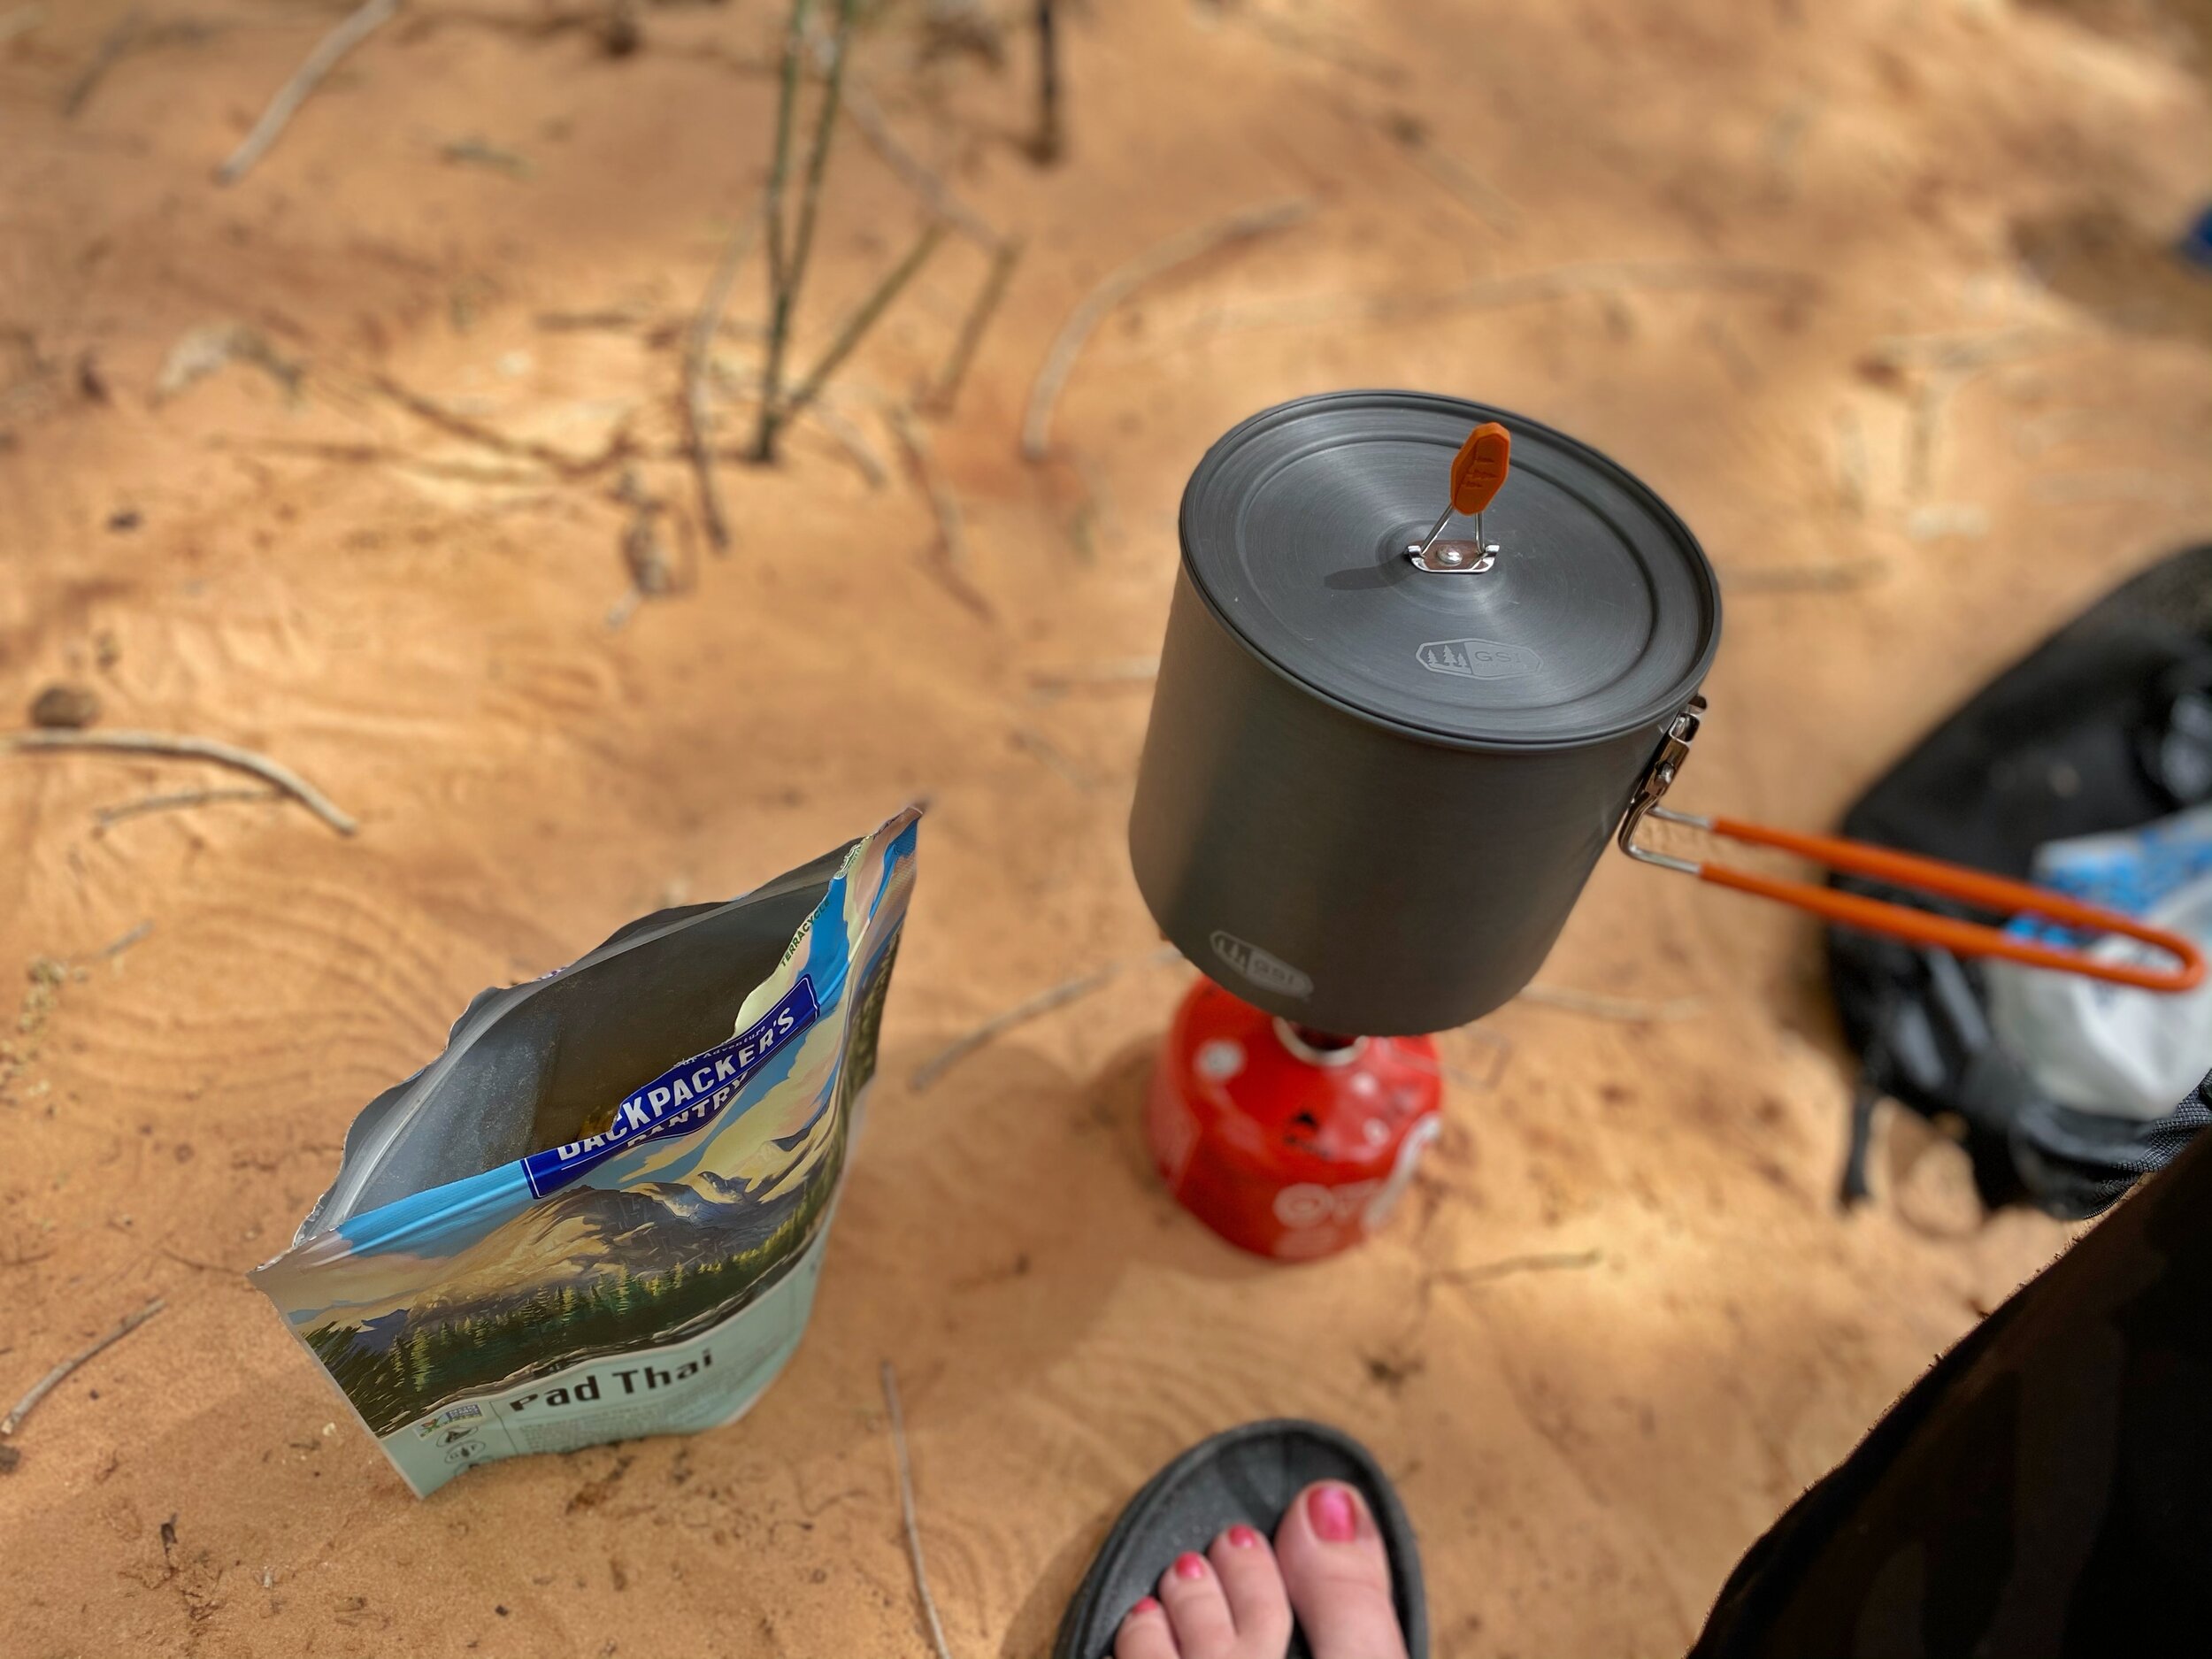
We hiked further into the canyon and physically in the creek for a little bit, and then set up camp. For lunch I had the vegetarian Pad Thai from Backpacker's Pantry and it was delicious, but it was also a really massive portion; even for two people. I felt bad that I was barely able to eat half of it. Michelle and Sumitra shared the vegan Thai Curry from Good To-Go and it was delicious too… almost shockingly so. I need to find more food options that are just one serving.
After lunch we stocked up on water and snacks with our day packs and headed further into the canyon to see if we could get to the confluence of the Escalante River and one of the northern arms of Lake Powell and also find Stevens Arch; another massive arch in the area. We were also on the lookout for a spot called the Black Lagoon. It's a somewhat-hidden swimming hole that was supposedly easy to find, but also easy to miss if you didn't know where to look. We used satellite and topographic maps that Michelle had downloaded from AllTrails to see if they could help, but alas, we couldn't find it. No hikers we passed seemed to know either.

Coyote Natural Bridge

We didn't see another soul for the hours we were there, soaking up the last of the day's sunlight and watching the bats come out. It was pretty magical.

We headed back to camp and called it a night and fell asleep to a much noisier section of the canyon. The trickle of the river was drowned out by crickets and another creature we assumed was like a cicada, but it sounded like a monkey. I think we ended up hiking about 10 miles total that day.
Cliff Arch. You can see a tiny tent at the bottom of the frame. Helps with scale a little bit.
The next morning we headed out with daypacks on the hunt for the Black Lagoon again. After looking at the maps again, we thought we had a better idea where it might be. We explored for a little bit and "thought" we might have found it, but the water was quite low and didn't look great for swimming. Utah is in a severe drought this year too. We snapped some photos with plans to look online again to see if we had been in the right spot. I have looked at a few blog posts and I still don't think we were in the right spot.
We headed back to our camp, packed everything up, and started heading back toward Jacob Hamblin Arch with plans to camp and then head back to my car the following morning. We stopped for a couple of hours at Swiss Cheese Falls to have lunch and play in the water. Michelle took some photos of the Lily Trotters compression socks she had and we enjoyed the water and the shade. We didn’t see any other hikers for the time we were there either.


We only hiked a little bit further before stopping in what I've seen others call the Great Alcove just before Jacob Hamblin Arch and we decided to set up camp. It was quite an epic place to camp and we chilled for the rest of the afternoon.

We’re so tiny!

Seriously one of the best campsites ever!
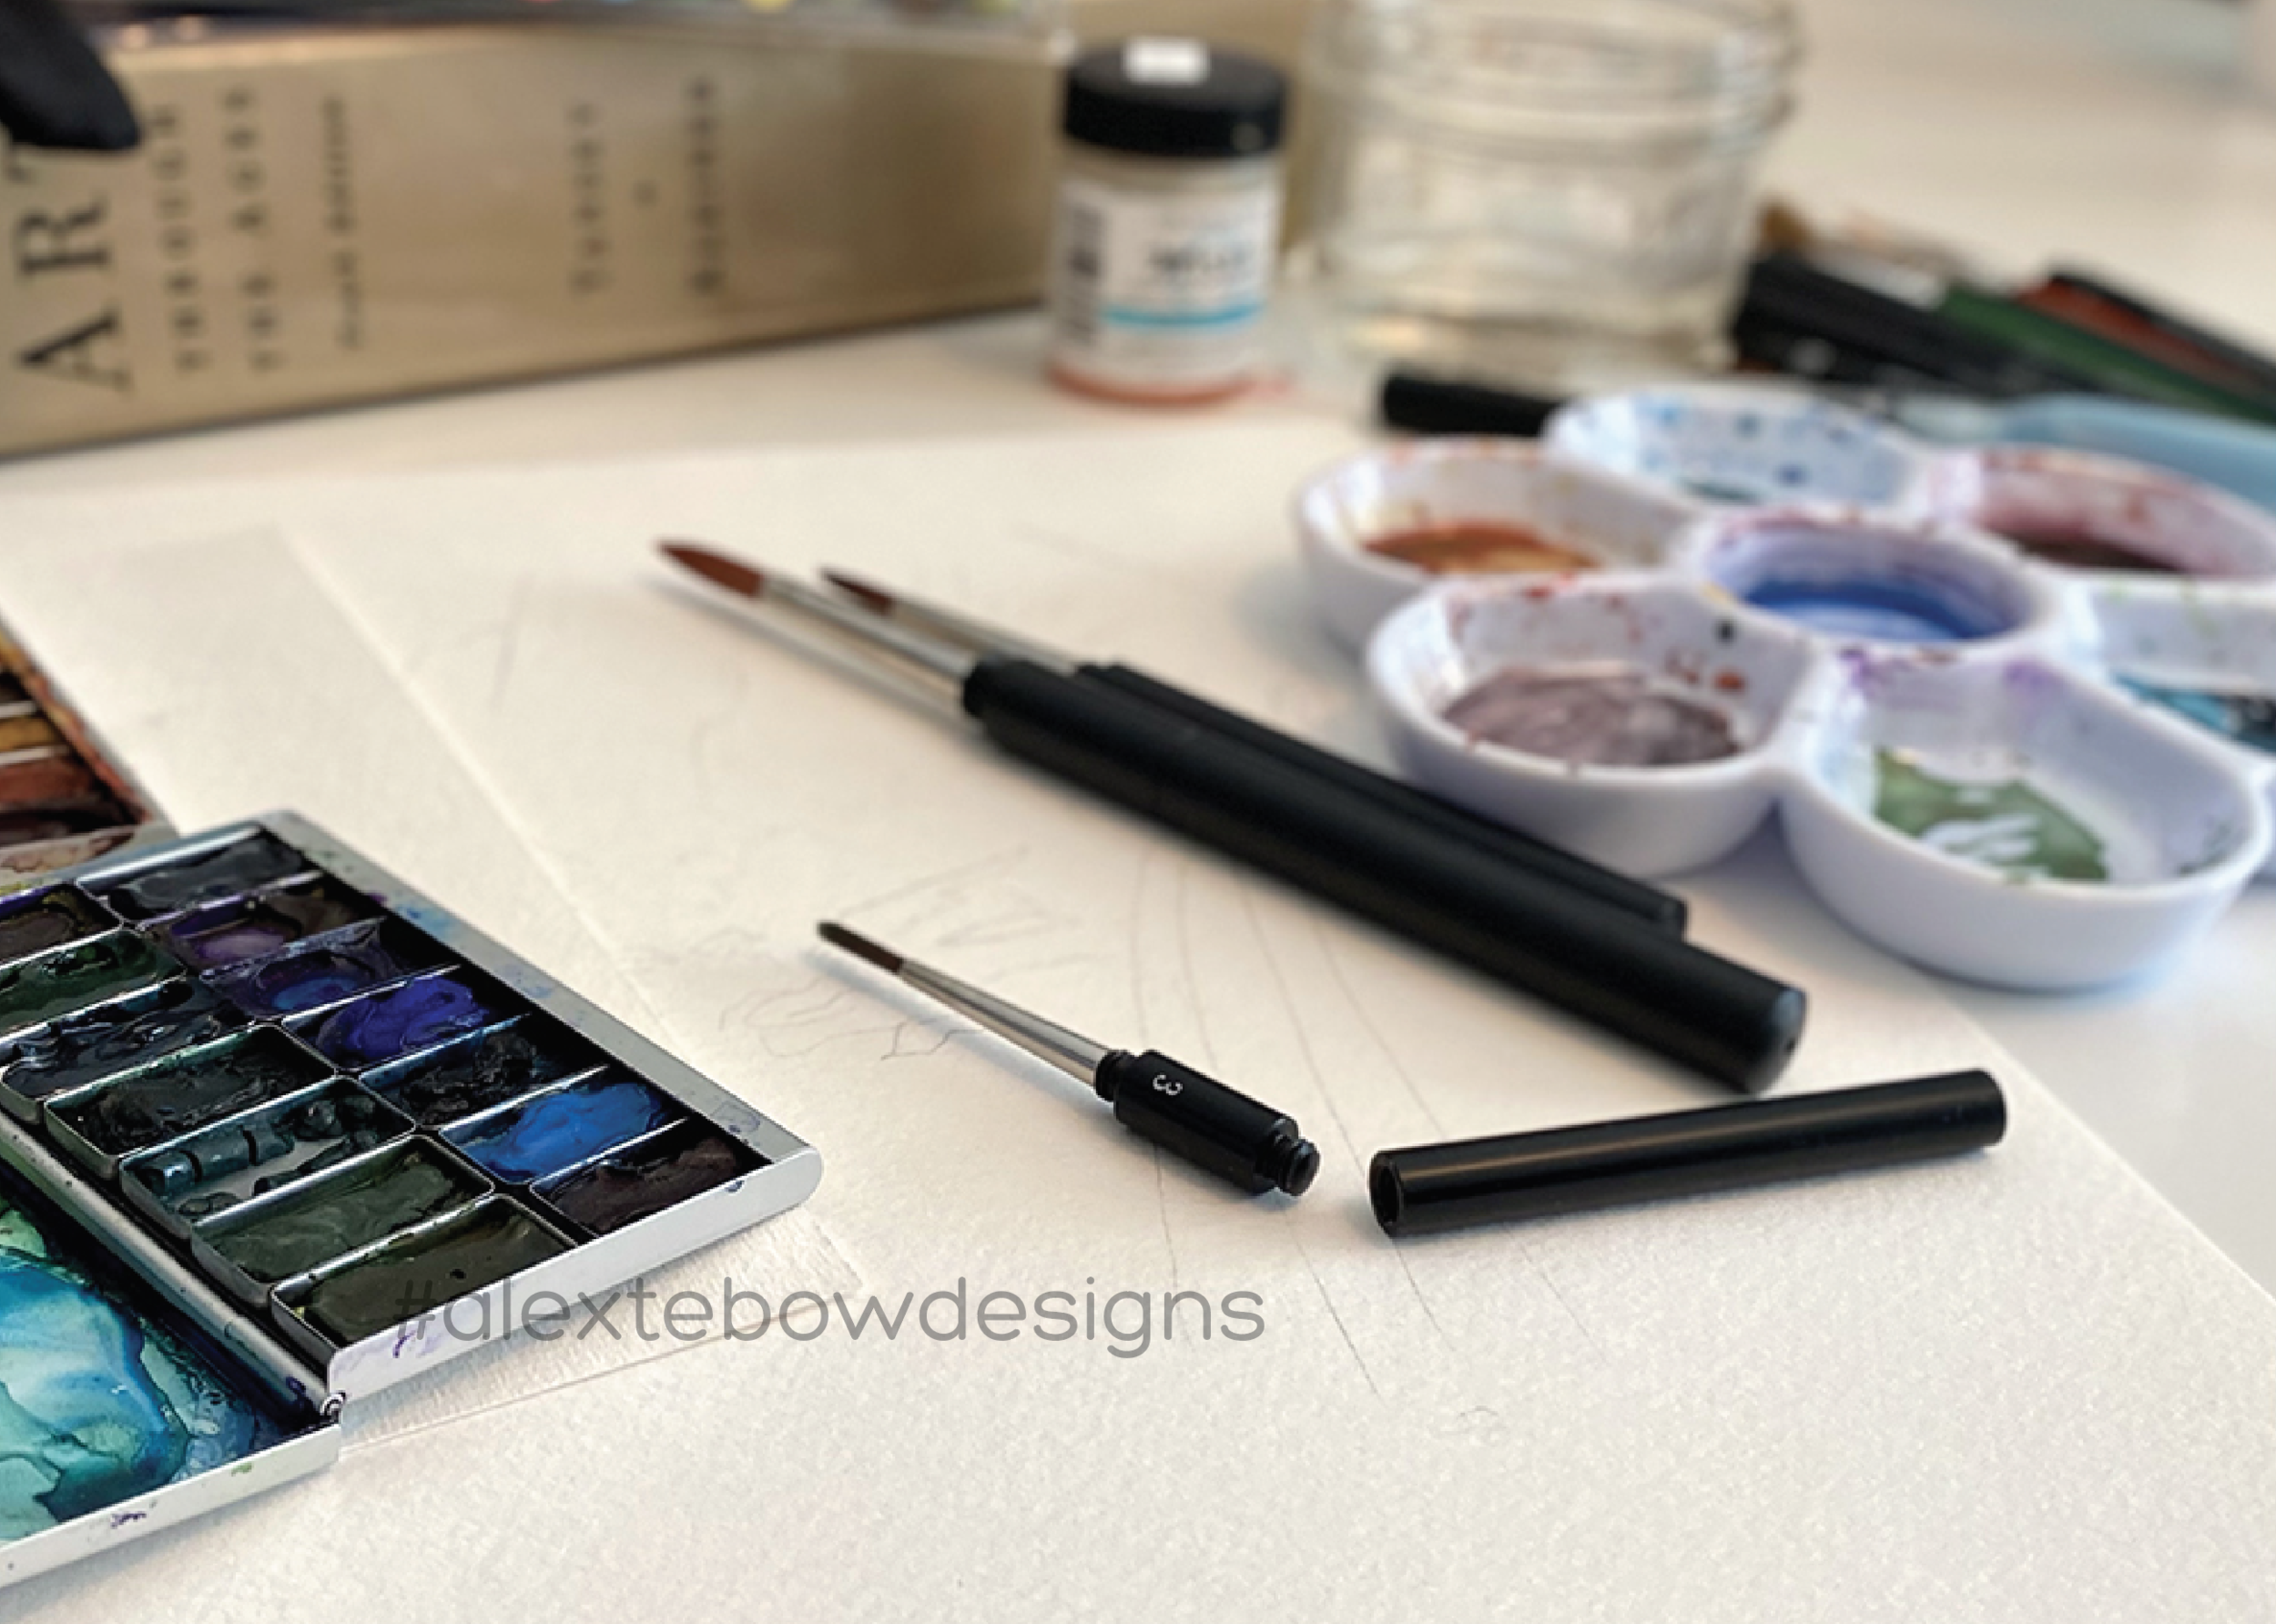
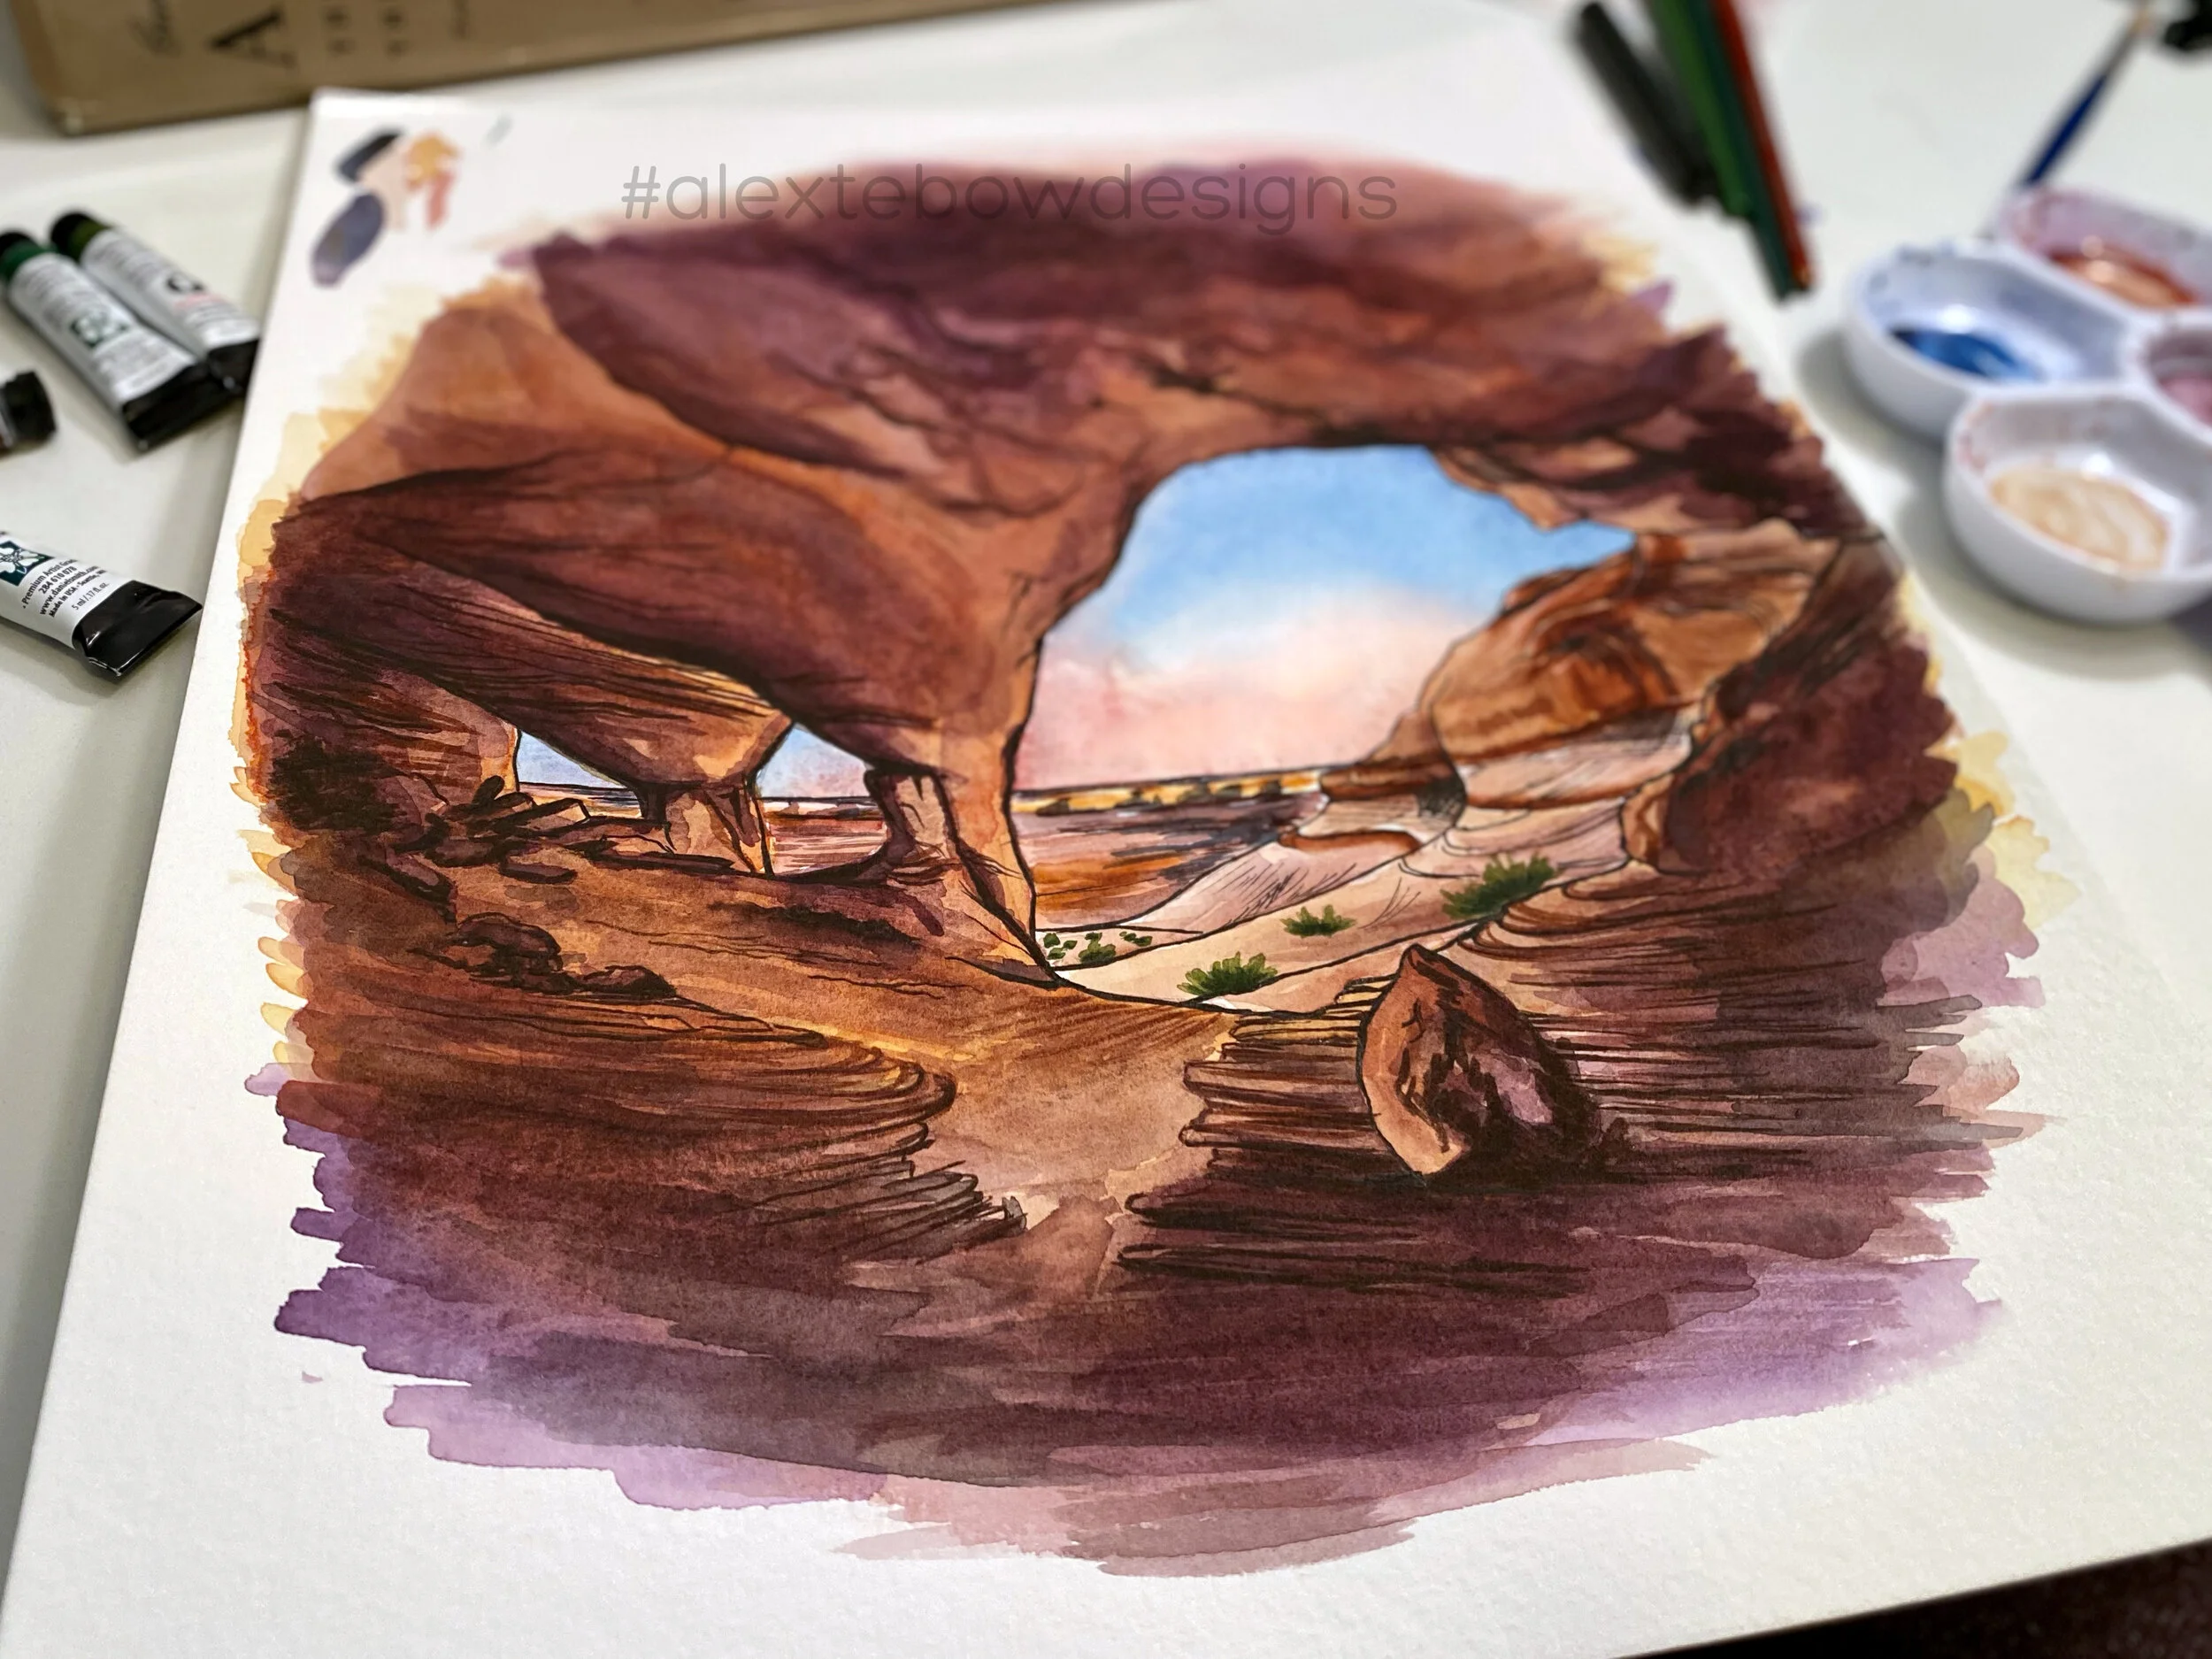
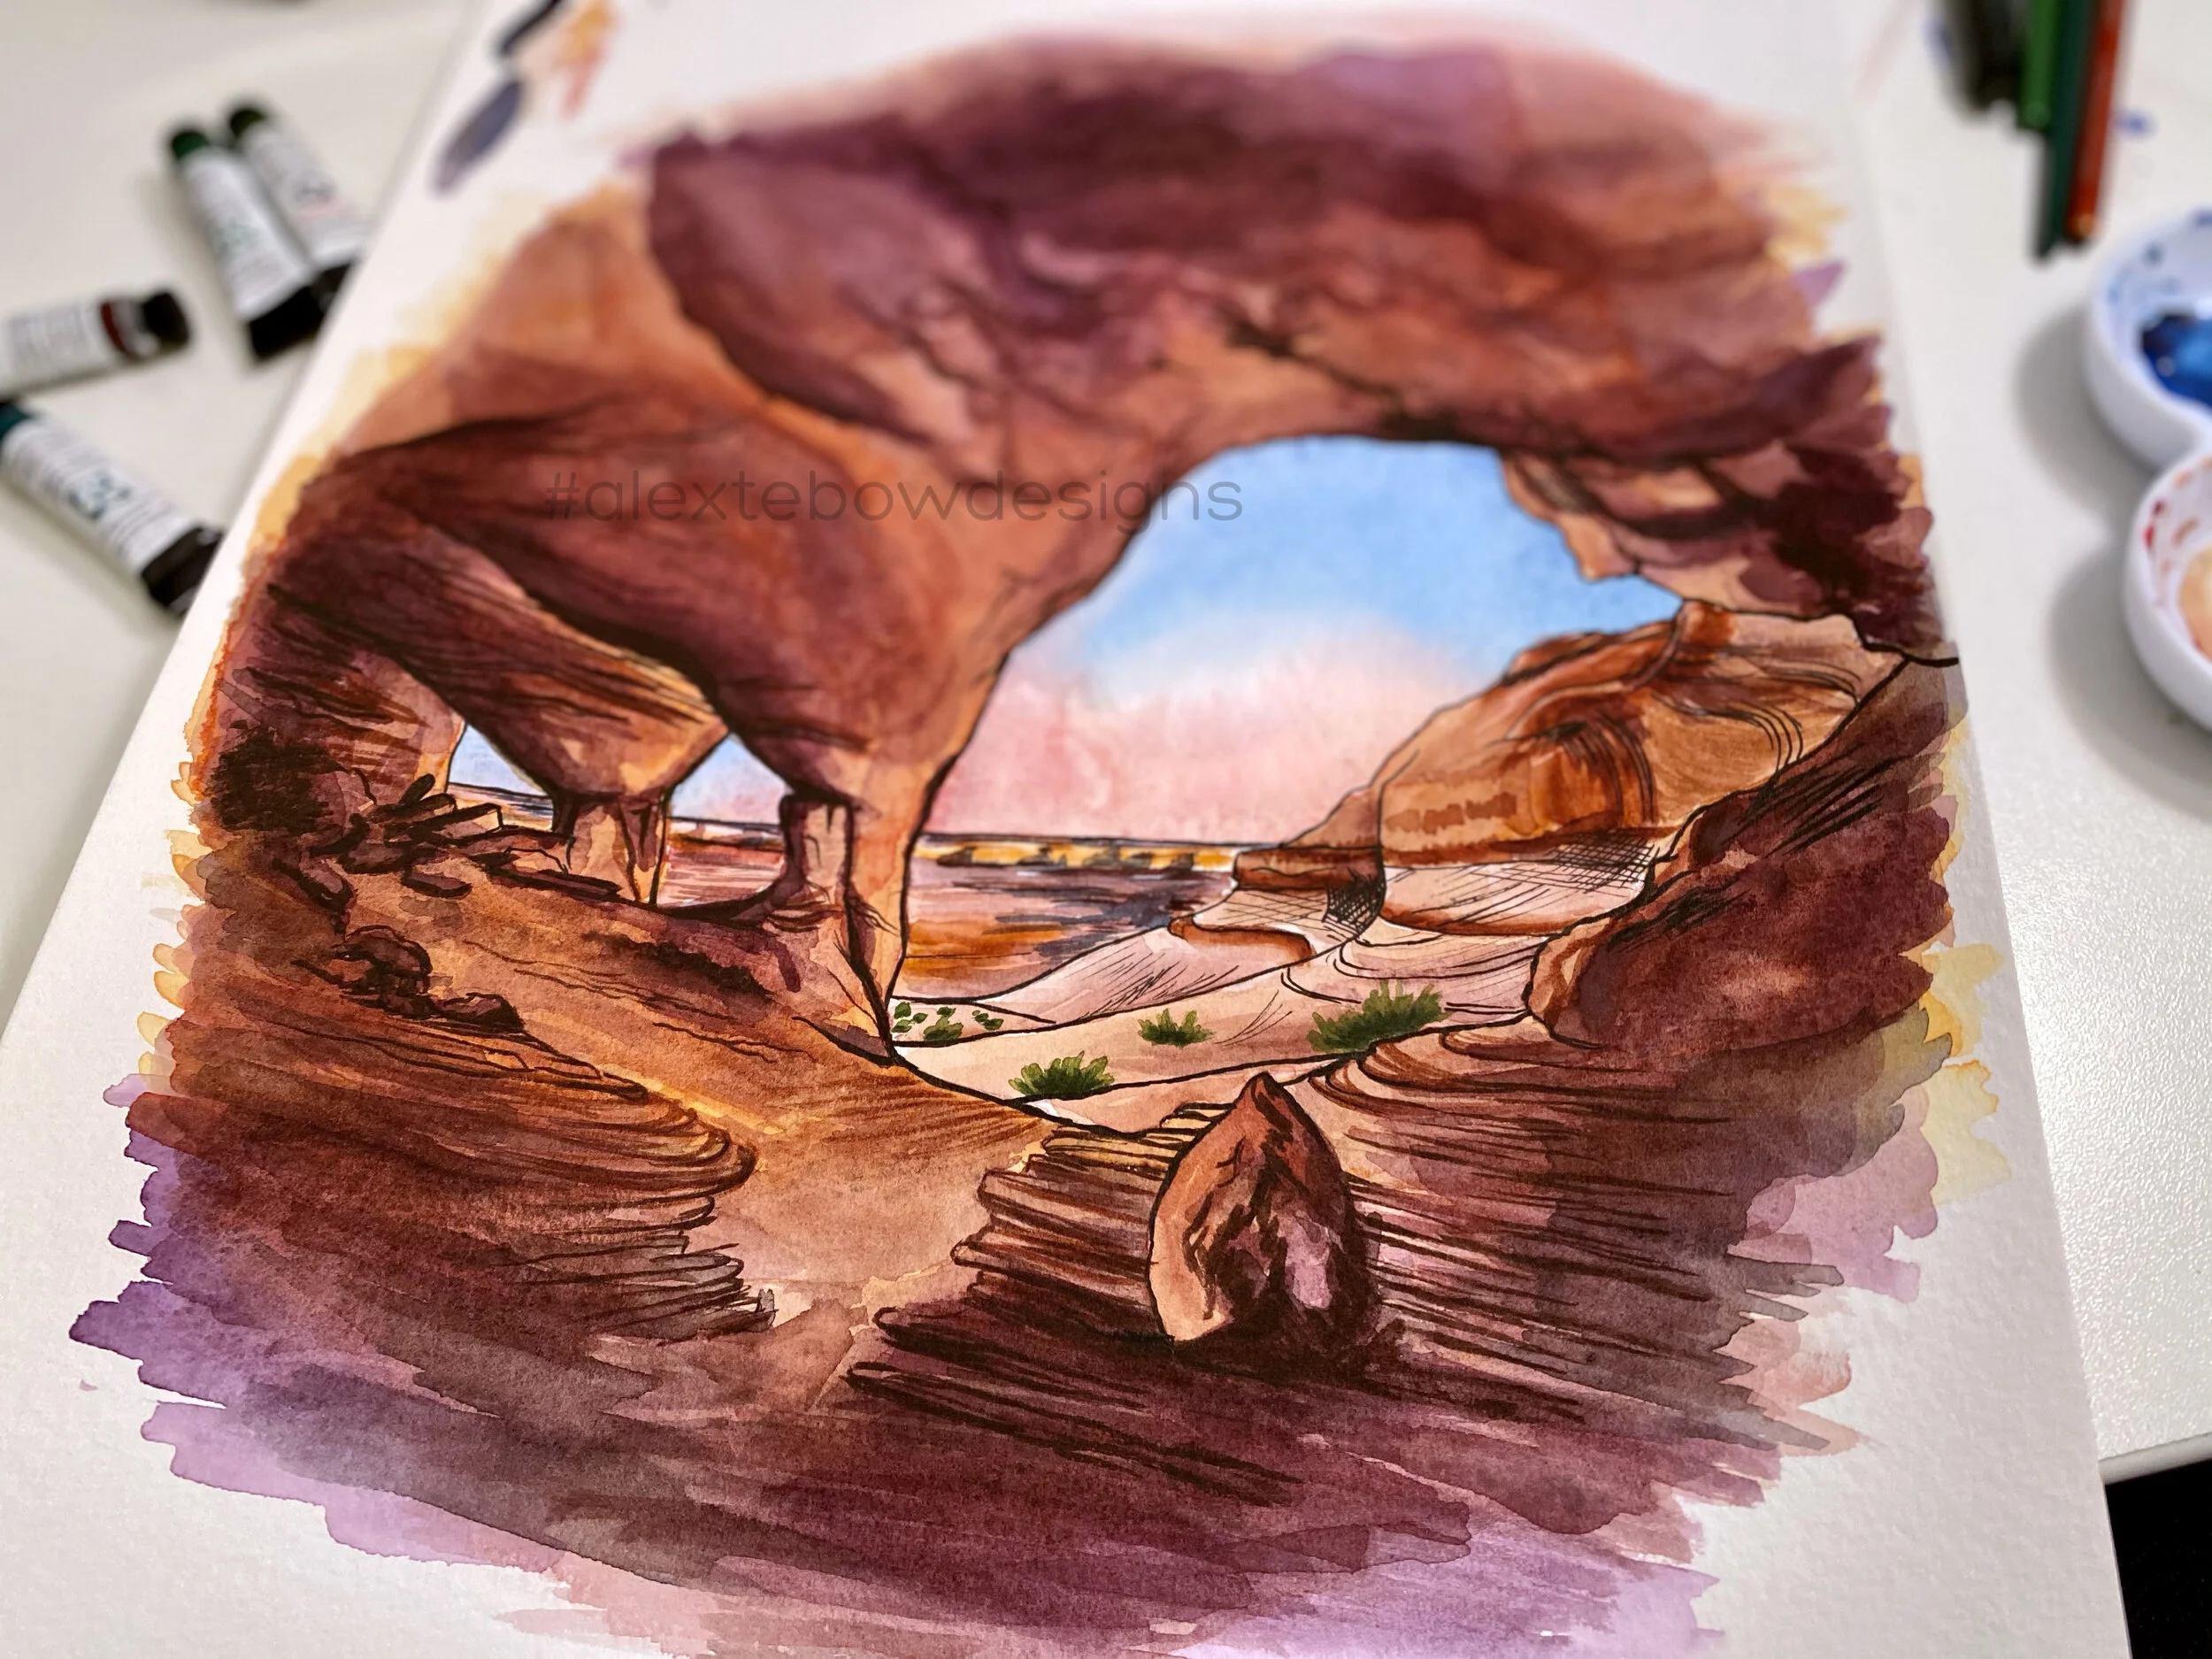
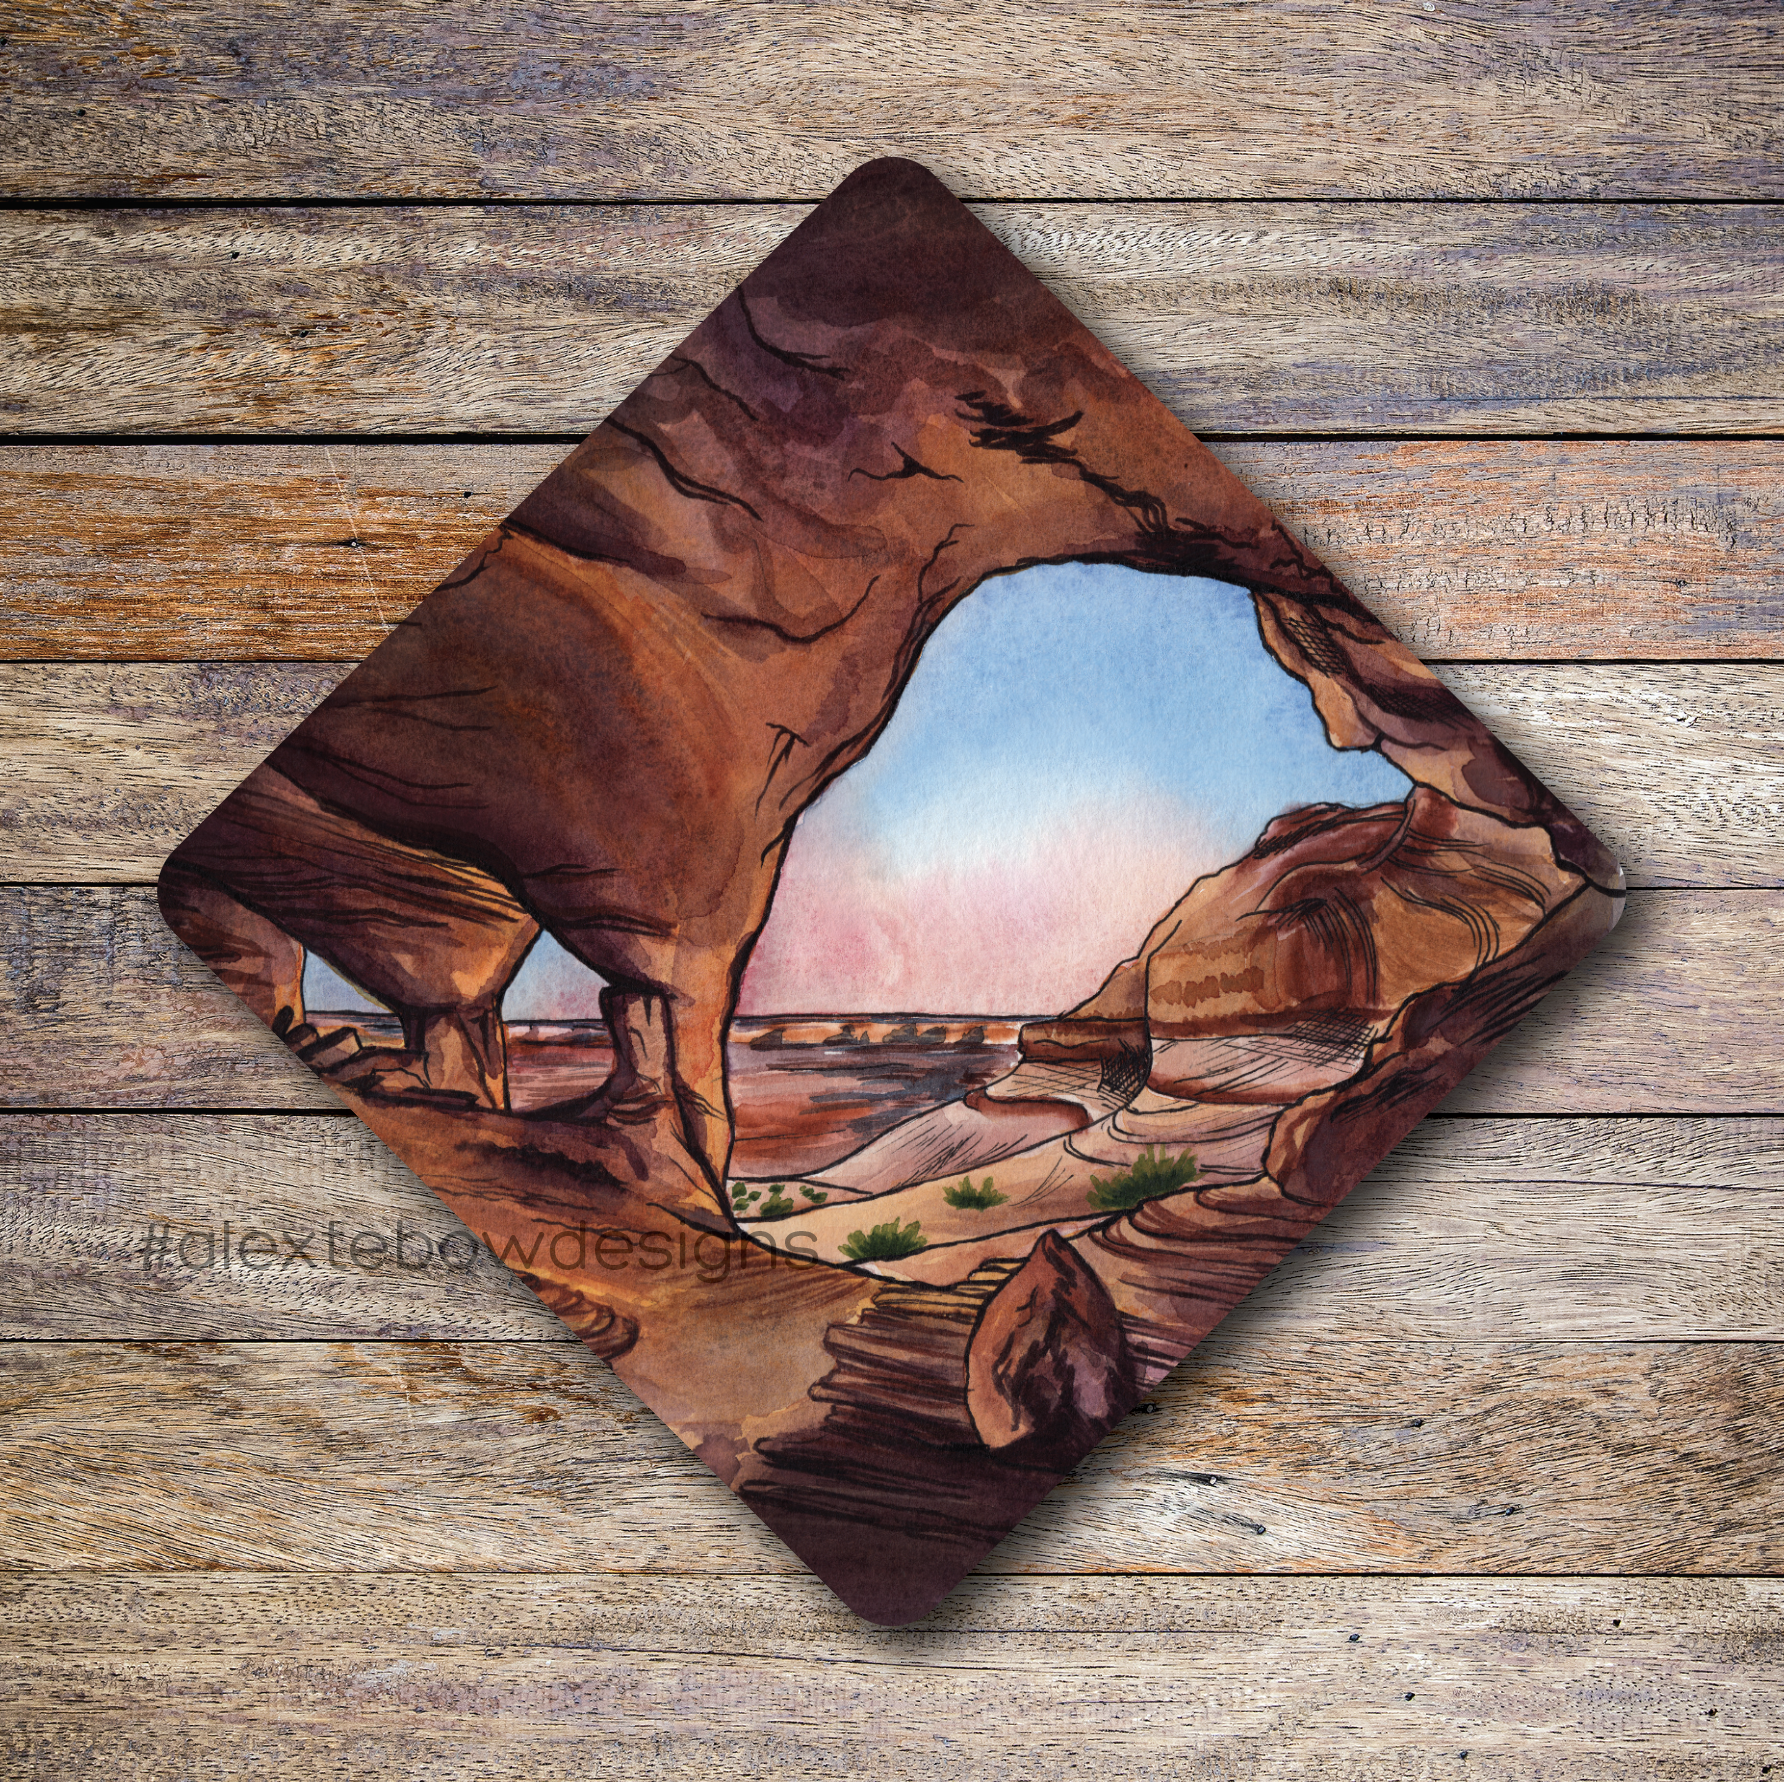
I broke out my Art Toolkit and I did a quick painting of the Great Alcove while Sumitra and Michelle went on short, solo hikes. I’ve painted a lot of desert landscapes and I’m used to painting the muted, silvery-greens of sagebrush and yucca. But in this lush canyon, the cottonwood trees are a bright and surreal shade of green that contrasts incredibly with the oranges and red of the sandstone. It almost looks artificial!

Images by Michelle Craig
For dinner I had Peak Refuel's Chicken Pesto Pasta. It was tasty, but a little rough on my stomach. Michelle and Sumitra had the Forever Young Mac n Cheese from AlpineAire. It was really delicious too and we all agreed that it would be great with some tuna thrown in.
We chilled that evening watching the stars come out. It was a pretty perfect evening after a short amount of hiking that let us rest up for what would be a tough hike back out to the trailhead the following day.

The last morning we set out before 8am for the last slog back to the trailhead. We knew we would be pushing 7.5 miles on what was supposed to be the hottest day of the week, and in the middle of the day. We stocked up on water, energy drinks, salt tablets, and hit the trail. The first half was really pleasant with lots of shade.

Once it was all exposed, I really struggled and the last 2 miles were really hard for me. I ran out of water close to the end, but the others were happy to share. It was hot, I was really, really tired, and I was feeling a little nauseated because I should have eaten more at breakfast. But I knew there was a 6-pack of Cokes waiting for me in the cooler of my car and it helped push me to the end.

Overall, we hiked about 27 miles between 4 days. A lot of it was in loose sand.
Would I do it again?? YES!
I know that my 11yo would have a blast, but I don’t know if my 7yo would be up for it quite yet; especially hiking in so much sand. He’d need some seriously motivating factors. Michelle, Sumitra, and I agreed that it would be really fun to bring our kids and I think we’ll talk again and consider trying next spring. They would likely have the most fun if we set up a basecamp in one spot and just explored the canyon with day hikes rather than pack up every day. We also want to learn more info on the alternate routes into Coyote Gulch. Hurricane Wash is the flattest and easiest to navigate, but it’s also the longest with a stretch of about 5 miles with no water. The Sneaker Route is one we’re going to see about because it’s only about 2 miles and places you really close to Jacob Hamblin Arch.
We also would want to have a vehicle that’s an SUV or a truck that can handle going a little faster than 10MPH on Hole in the Rock Road. Hell, we will rent a damned truck if we have to next time!

Image by Michelle Craig
Lessons to Myself for Future Trips:
Double check that my sunscreen is functioning! Literally right when we got started at the trailhead, I noticed that the nozzle on my sunscreen bottle was broken, rendering it useless. I had sunscreen for my face, but not enough to also use on my arms and shoulders. Thankfully, I had a lightweight, long-sleeved shirt from Columbia that worked for when I needed it. My shoulders still got a little burnt and that shirt was sooooo smelly!
Get some supportive water sandals like Chacos or Keens. I really would have liked to be able to hike through the water without worrying about my socks getting wet. My hiking boots did amazing, but some sturdy and supportive sandals would have been nice too.
When the weather is warm, rely more on snacks and less on meals. At mealtimes, if I was tired or really hot, I didn’t feel like making and eating a full meal. I ended up eating all of my snacks, but only a couple of the meals.
Research more about food options. Michelle taught me about bringing vacuumed-sealed packs of tuna or salmon to add to dehydrated food like Mac n Cheese or to mix with preprepared mayo and spices for a quick sandwich. Payday candy bars don’t melt like chocolate would and are great for when you’re tired of granola bars or energy bars. Tortillas are kinda heavy, but awesome for nut butter sandwiches. They’re also handy for making a breakfast burrito with a breakfast skillet like the one from Mountain House.
Add arch supports to my hiking boots to keep my feet from pronating when I hike (or consider getting custom insoles). I ended up with blisters inside my heels because of this misalignment. It wasn’t the boots but rather my ankles.
Bring a swimsuit or quick-drying clothes so I can swim when there’s a place to swim.
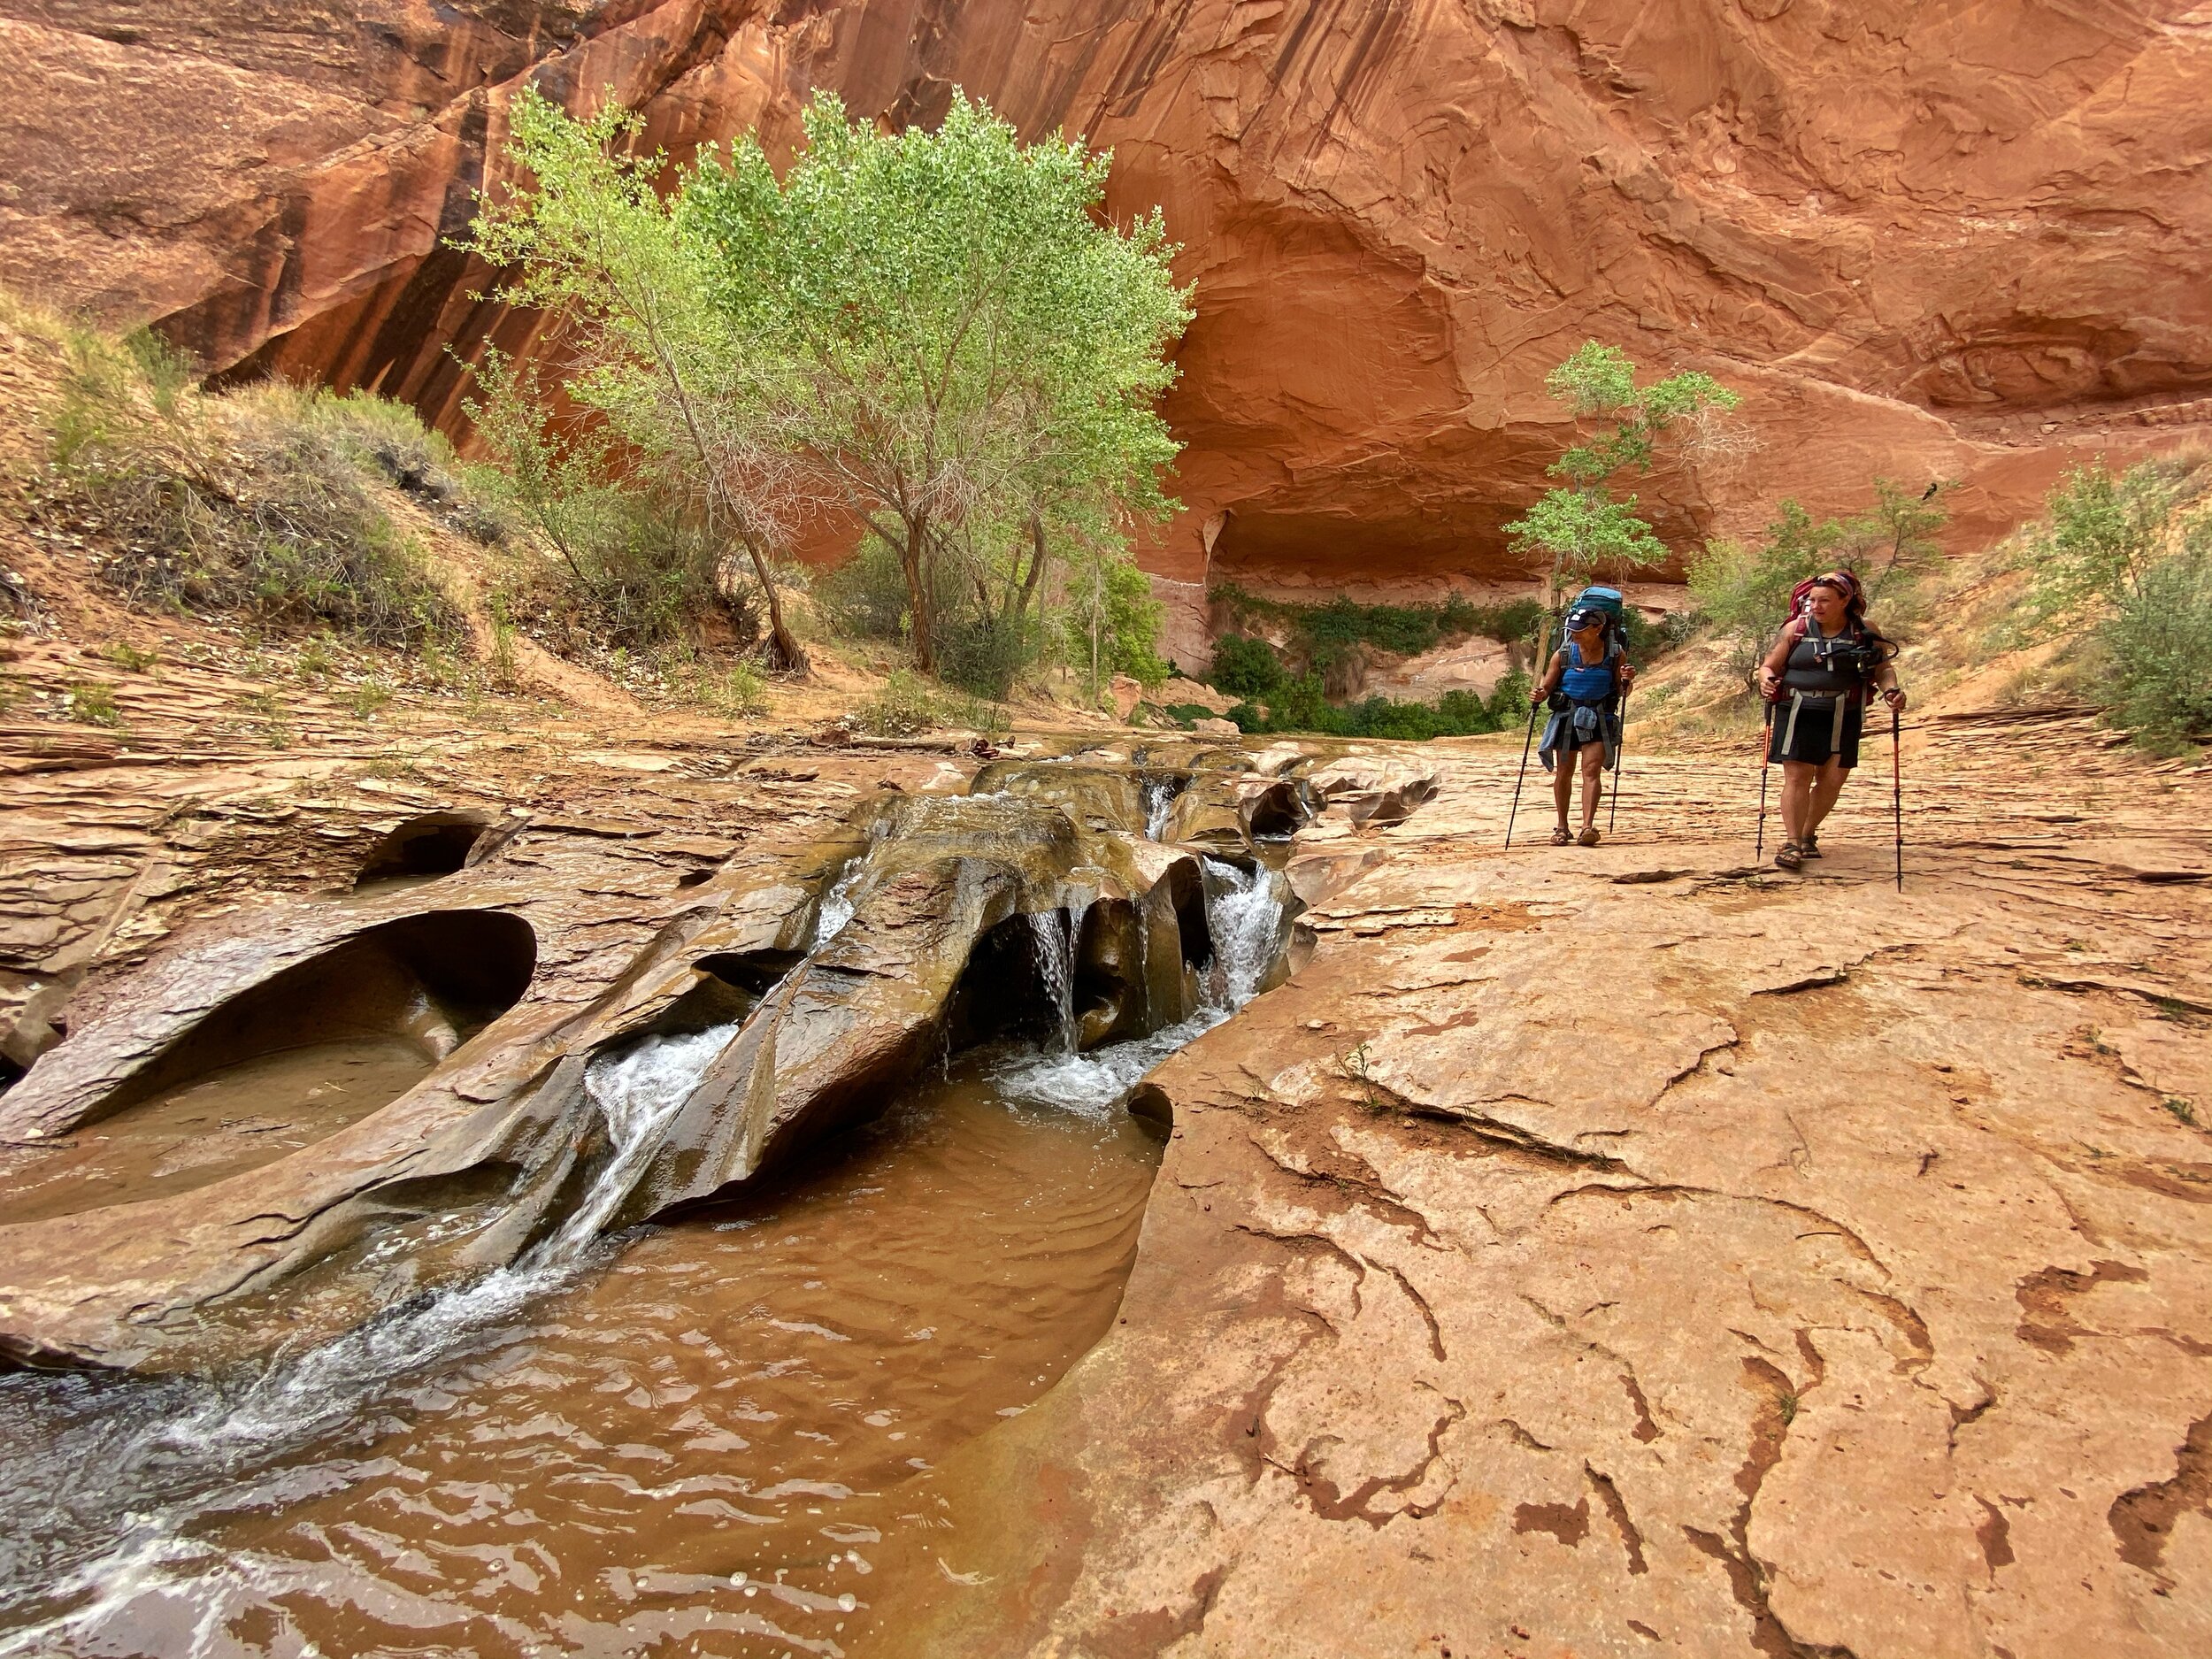
Swiss Cheese Falls, my kids would LOVE to play in the water here.
My Gear: (lots of affiliate links here!)
Deuter Aircontact 60+10 SL Pack (loved it, really comfortable and easy to pack and cram as much into as possible)
Nemo Disco Men’s Down Sleeping Bag (I’m a side sleeper, a size 16, and I hate mummy bags. Women’s sleeping bags are usually too tight in the shoulders for me and I love the spoon shape of Nemo’s bags)
Klymit Insulated Pad XL (I debated bringing my son’s Klymit pad that’s a little smaller, would have been nice to have a smidge more space, but not sure I would have rolled off of it. Gonna think about it for future trips.)
Packing Cubes (mine are from The North Face, bought super cheap at Sierra. Lightweight packing cubes are worth using to keep shit organized and the one that holds my clothes doubles as a pillow)
Sawyer Mini Water Filter (for backup, the Katadyn has a much faster flow and is easier to fill)
Kelty Origami Trekking Poles (I have Black Diamond poles that I love and are a little lighter than these, but I could NOT find them before this trip. So I grabbed these on clearance at Sierra and they did a great job. I think I prefer cork handles over synthetic, but they served me well and I was very happy to have them.)
ENO Moonbeam Headlamp (I have a brighter headlamp from Black Diamond, but the battery needs replacing)
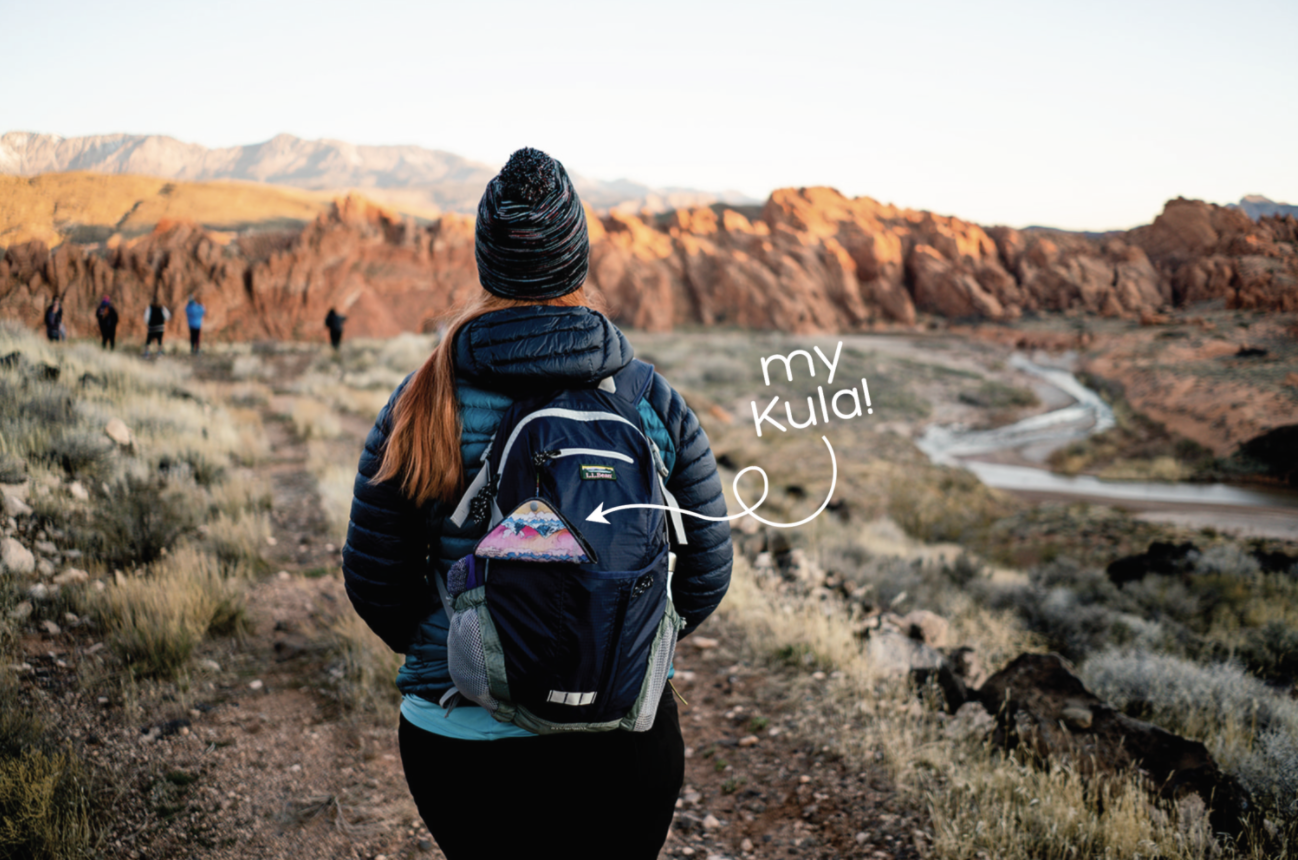
Kula Cloth, PStyle, and Wag Bags… for nature’s calls.
I am sure there are plenty of lighter-weight options for most of my gear. I’m never going to be a UL backpacker, and I’m perfectly alright with that.

Image by Michelle Craig
Worth Bringing: (even when it adds weight)
A CHAIR! On a whim, I bought the lightweight chair that Costco was selling this year. It’s from Cascade Mountain Tech and it’s about 3.5 pounds and has a 250 pound weight limit. It was SO nice to be able to rest my legs and back every afternoon and evening. I almost didn’t bring the chair because my pack was full, but I was able to strap it to the outside of my pack and it was super easy to bring. I will never NOT bring a chair with me from now on and I’m looking at investing in one that’s lighter weight like the ones from Klymit or Helinox.
A pillow. To make backpacking and camping more enjoyable on my body, I have been working hard on figuring out the best way to get a good night’s sleep. I learned years ago that I can’t sleep on an inflatable pillow. Then I found that Thermarest makes collapsible pillows filled with memory foam. They come in a bunch of sizes and roll down to less than half their size. They truly feel like I’m sleeping on a real pillow at night and have been really amazing. I actually have two in Small and Large and they come with us on every camping trip and every road trip. The best part: they are machine washable and can go in the dryer.
Wet wipes. Having some simple wet wipes to scrub down my face, neck, hands, and feet every night really helps me feel cleaner and refreshed. I may or may not use them for a quick PTA bath too. Totally worth bringing.
A measuring cup. When rehydrating backpacking meals, it’s important to use exactly the right amount of water. Too little and you end up with crunchy chunks of meat or noodles. Too much water and you have mush. A few makers of backpacking food are starting to give us a fill line rather than a measured amount, but a few still list 2/3 of a cup or whatever measured amount. Having a small, plastic measuring cup is really helpful to have; especially if you can store it somewhere out of the way. Mine fits in my cooking pot along with some soap, matches, and my MSR stove.

Image by Michelle Craig
To end, this trip was a truly memorable experience and it has really lit a fire in me that makes me want to delve into backpacking more. While it was physically exhausting and really pushed me outside of my comfort zone, I would totally do it again and it makes me really appreciate how stunningly beautiful Utah is and just how little of it’s gems we’ve seen. And I feel like we’ve seen a lot!
What are some other amazing places to backpack in Utah? Got any suggestions?